Pixel Bead guide
How to Use a Pixel Bead Pattern
Follow a grid at the table — board prep, build strategies, progress tracking, and final review before ironing.
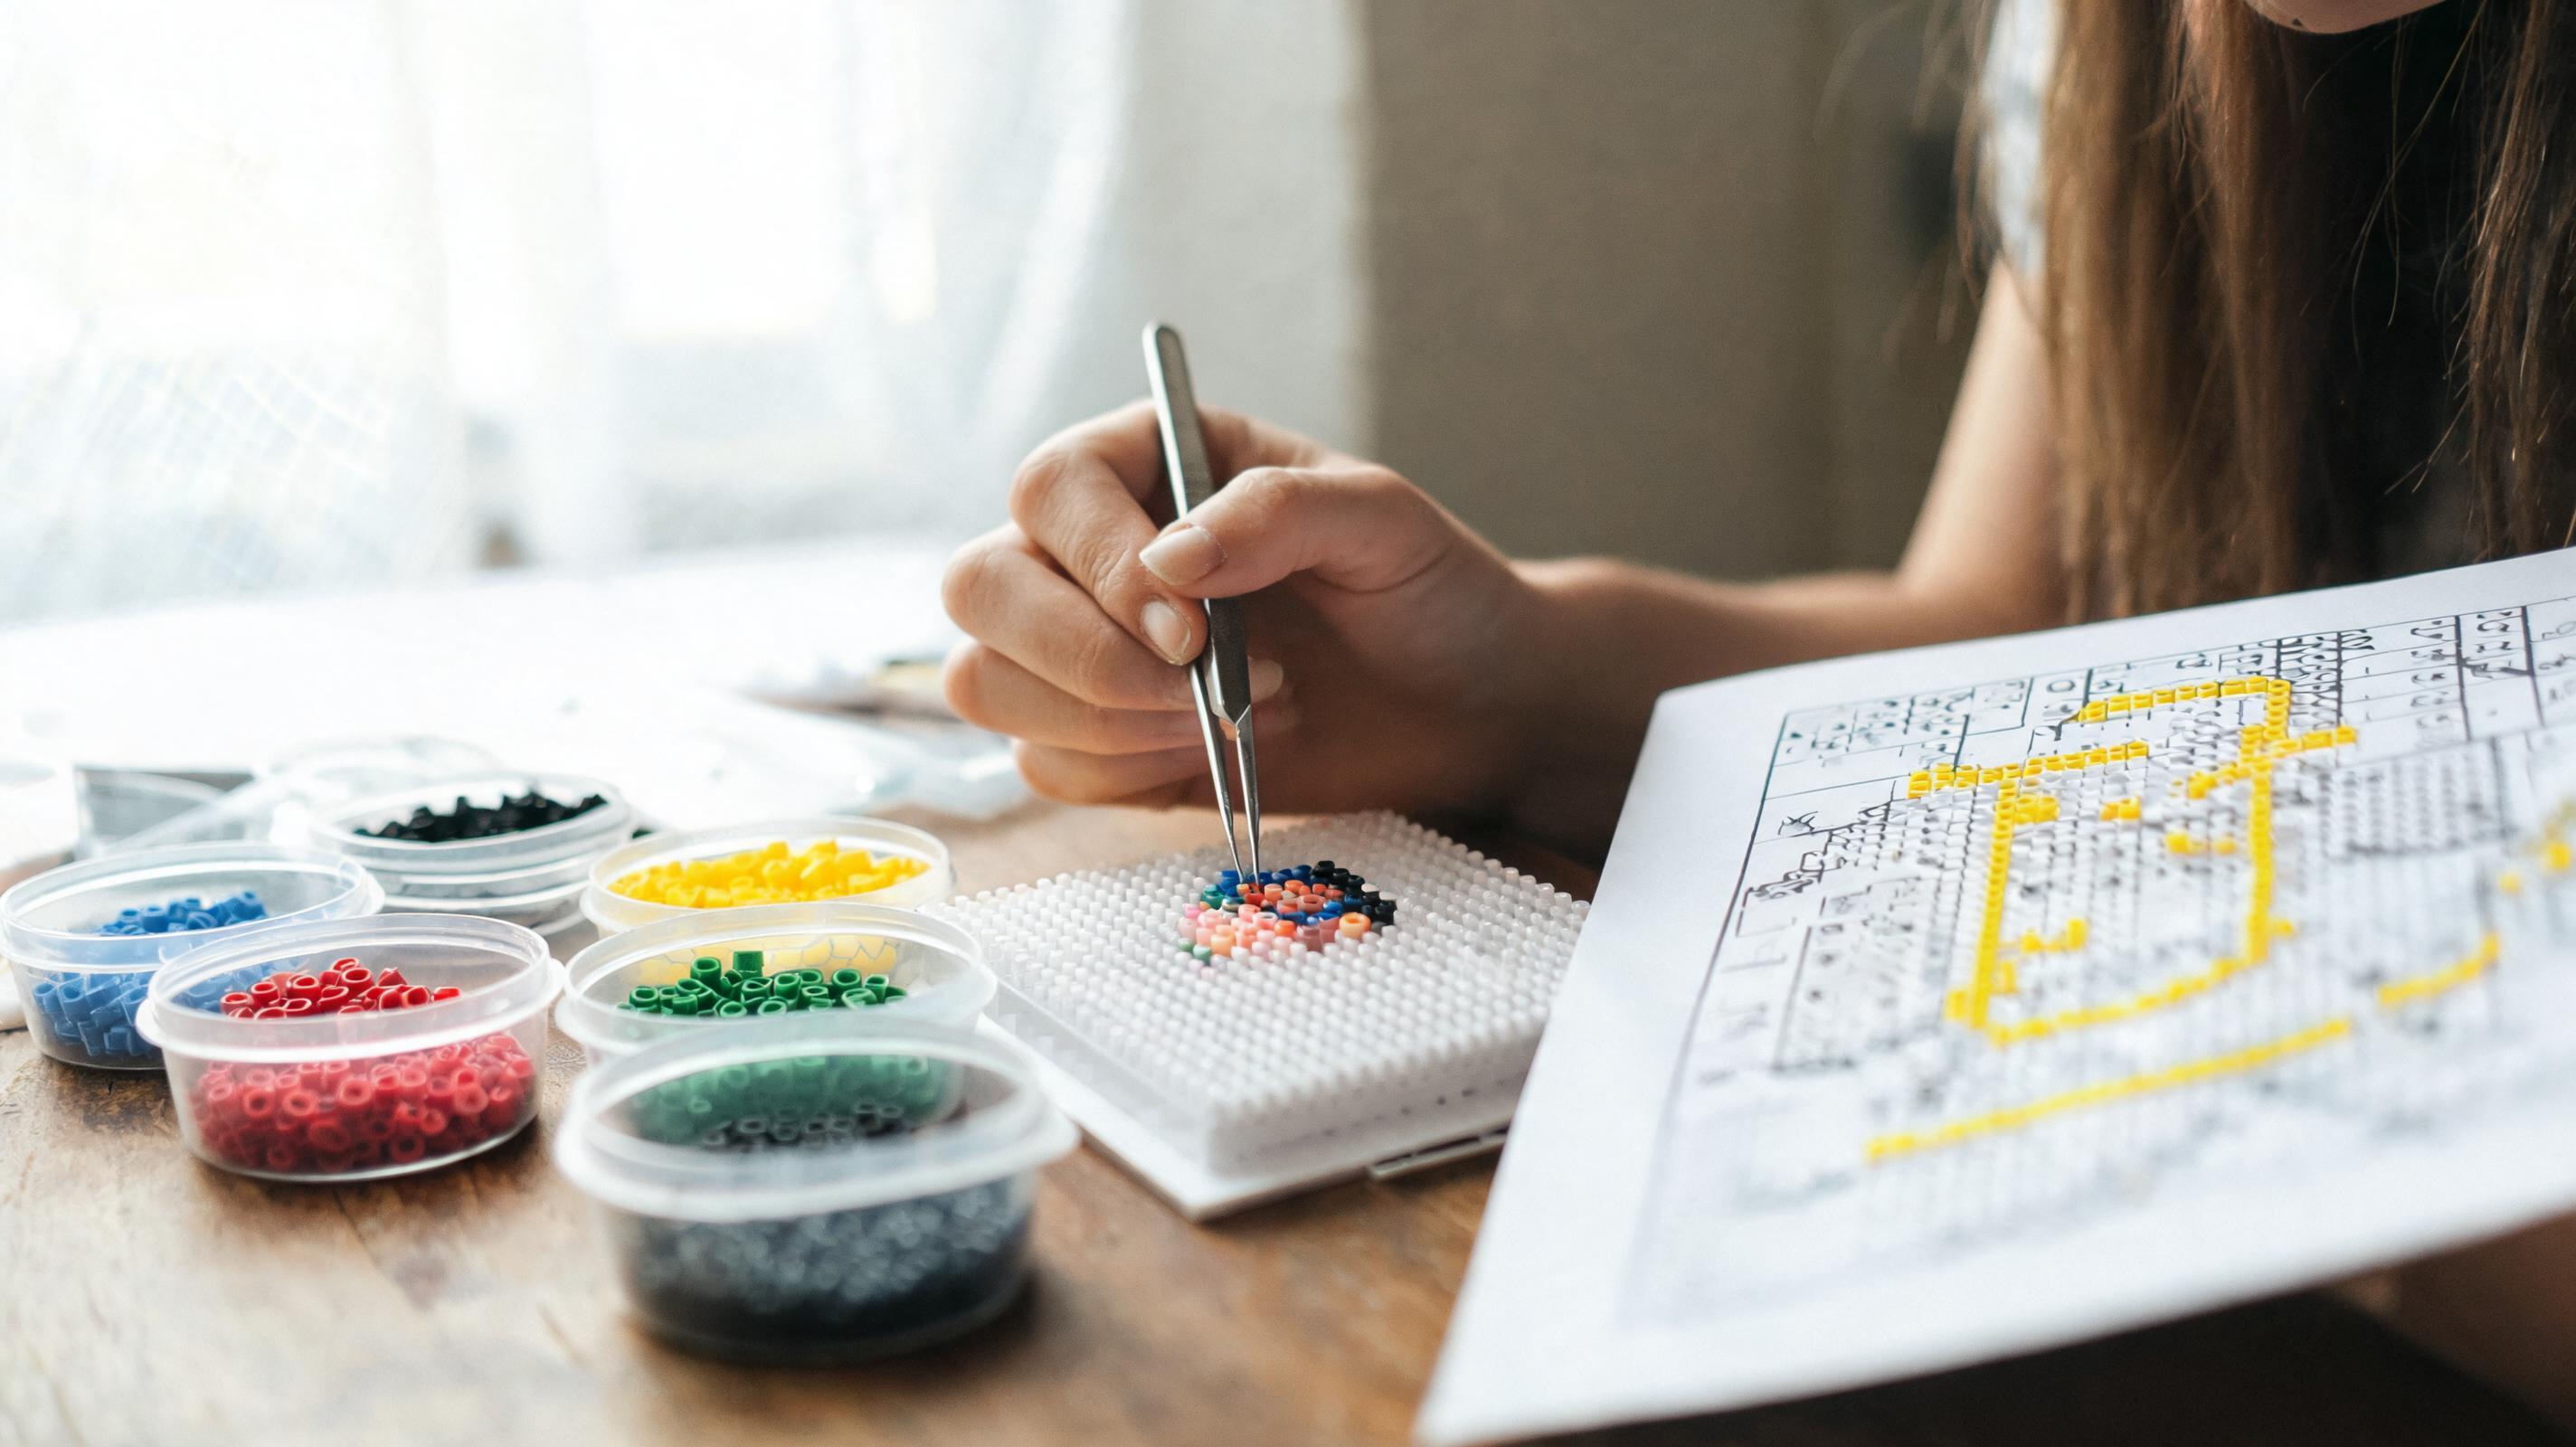
Prepare the Board
Print or display your guide at comfortable size. Align the peg board so row 1 matches the top of the pattern. If the design spans multiple boards, tape boards together or build in labeled sections.
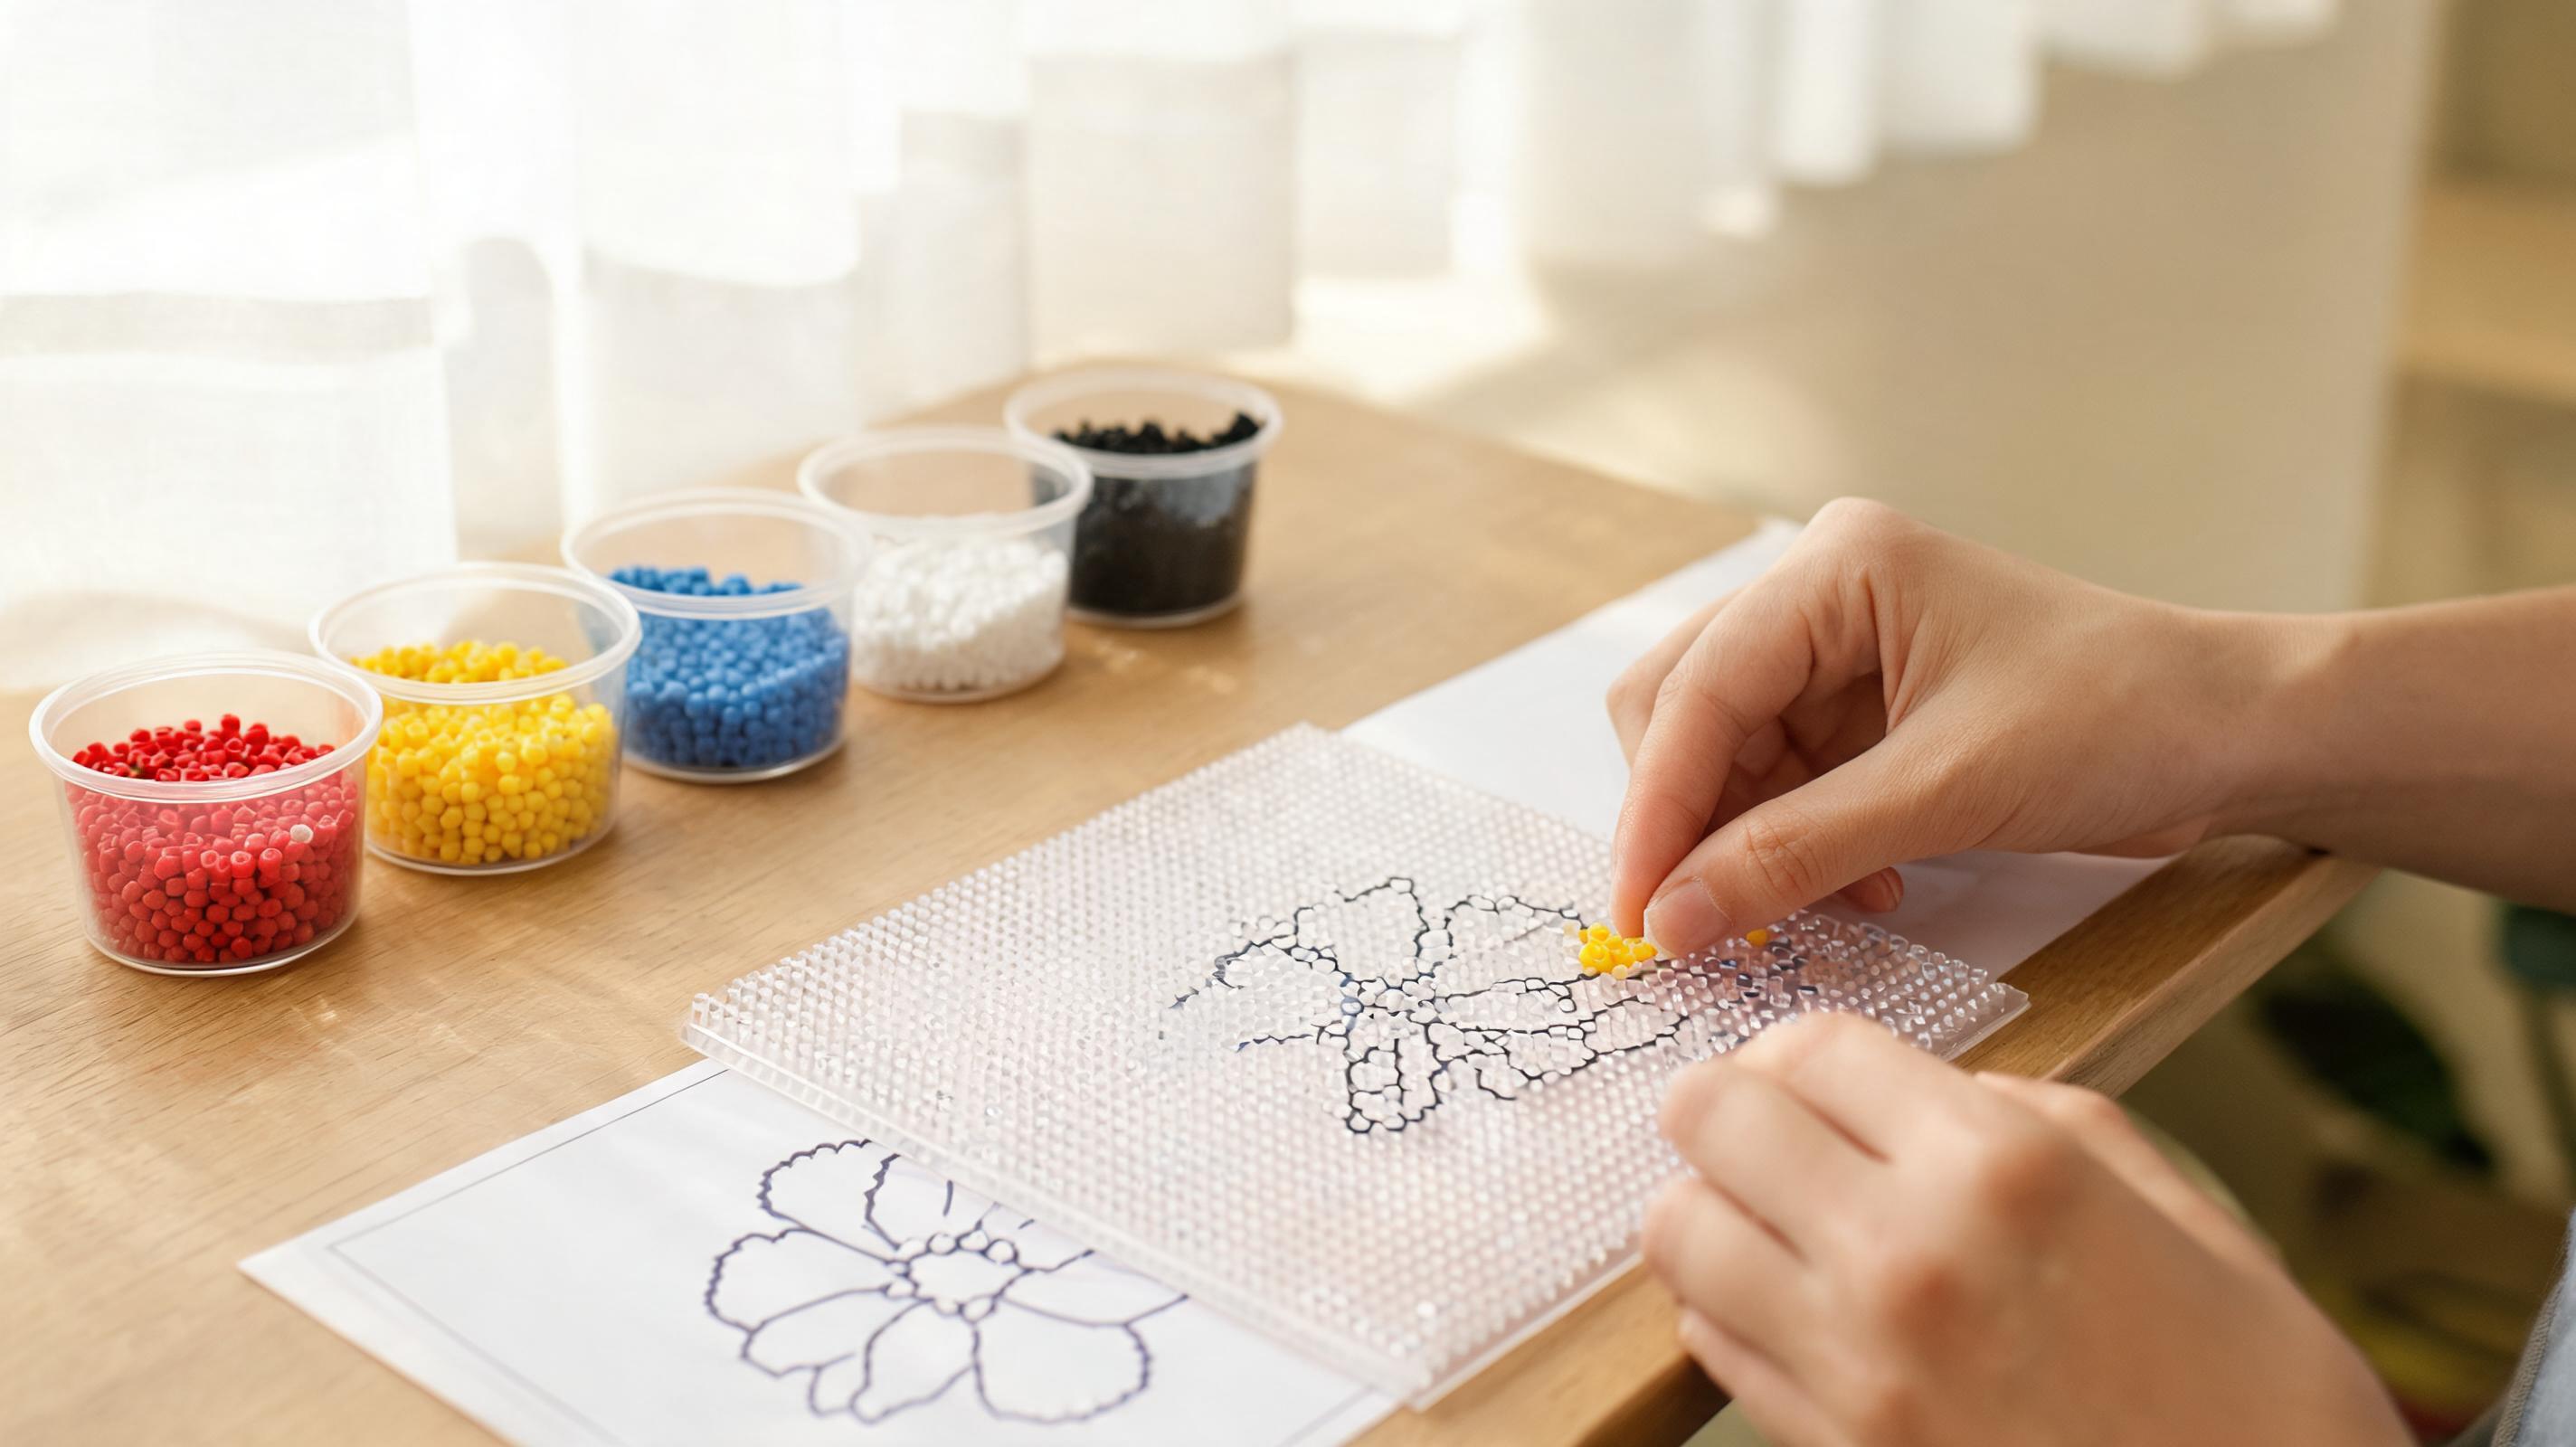
- Enable Coordinates in the app if you count rows aloud while building.
- Ironing paper and iron within reach before you fill the last row.
- Tweezers help on dense color changes.
Work by Color or Area
Two common strategies: fill one color across the whole board before switching, or complete one region (face, border, text) at a time. Color-by-color minimizes jar swaps; area-by-area helps you see the image form faster.
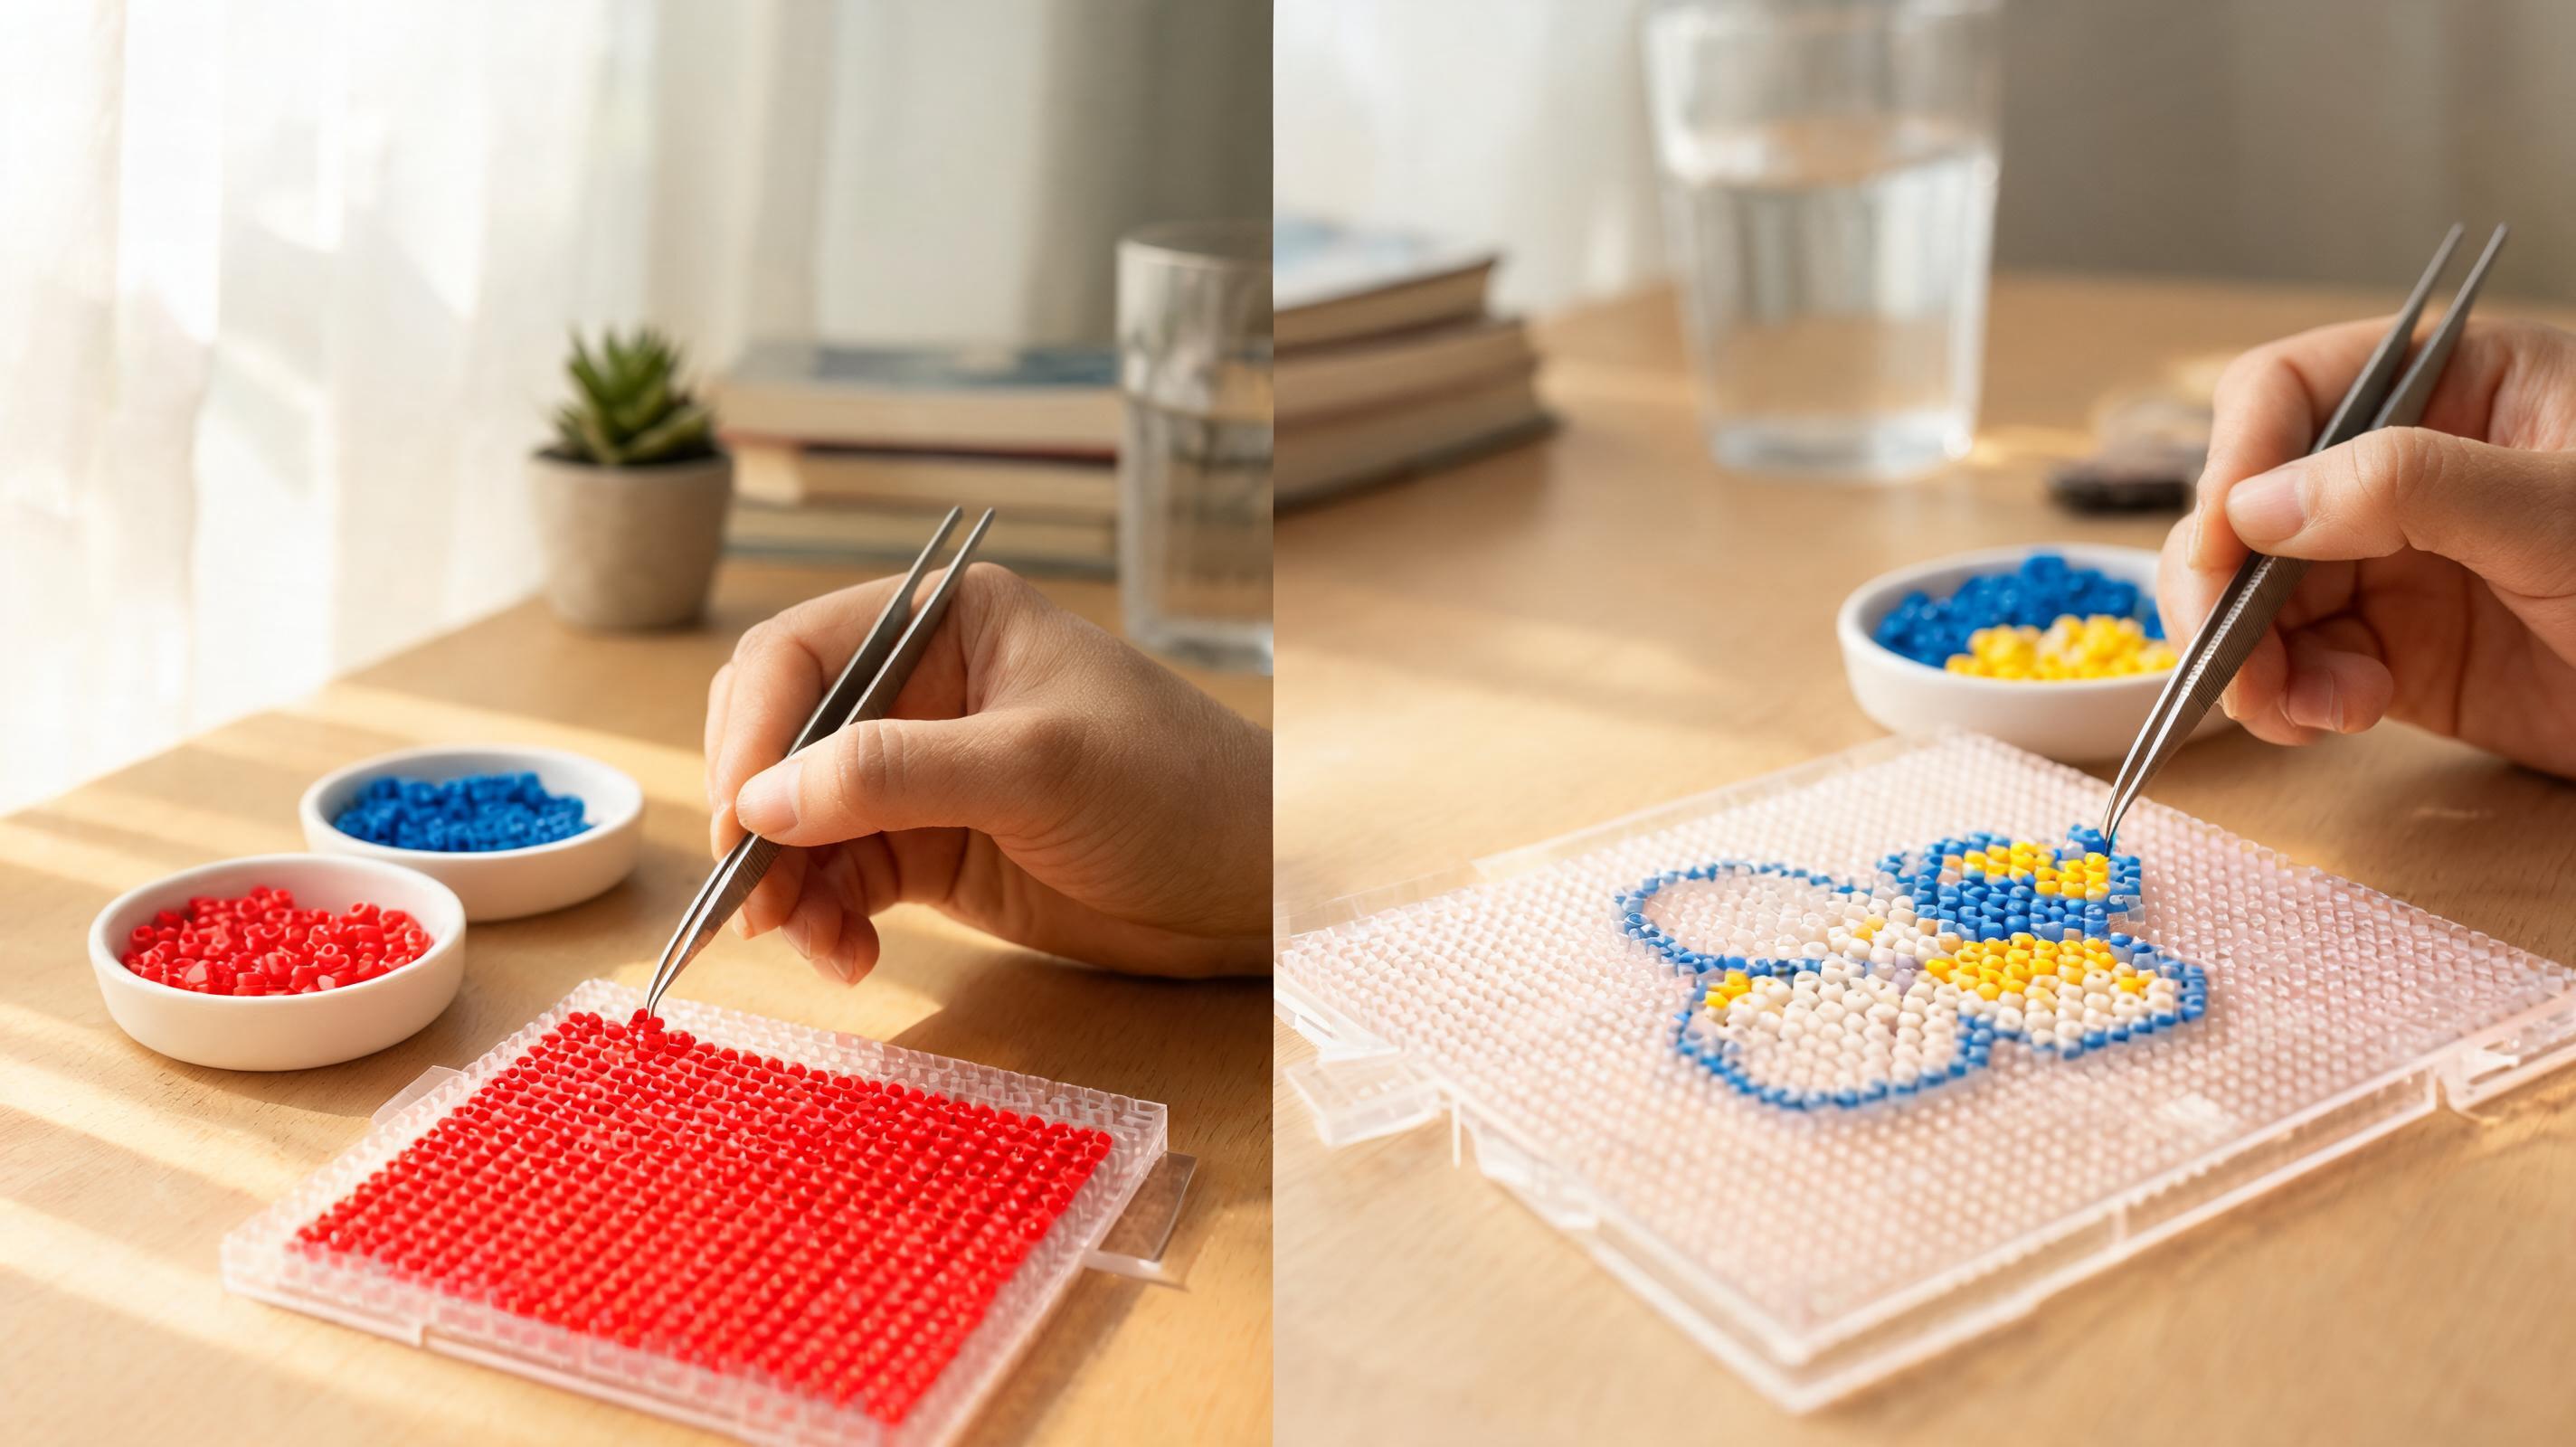
Save Your Progress
Physical builds pause; digital projects should too. Save in the app so edits and counts stay current. Take a photo of the peg board before moving it — beads can knock loose if the board is bumped.
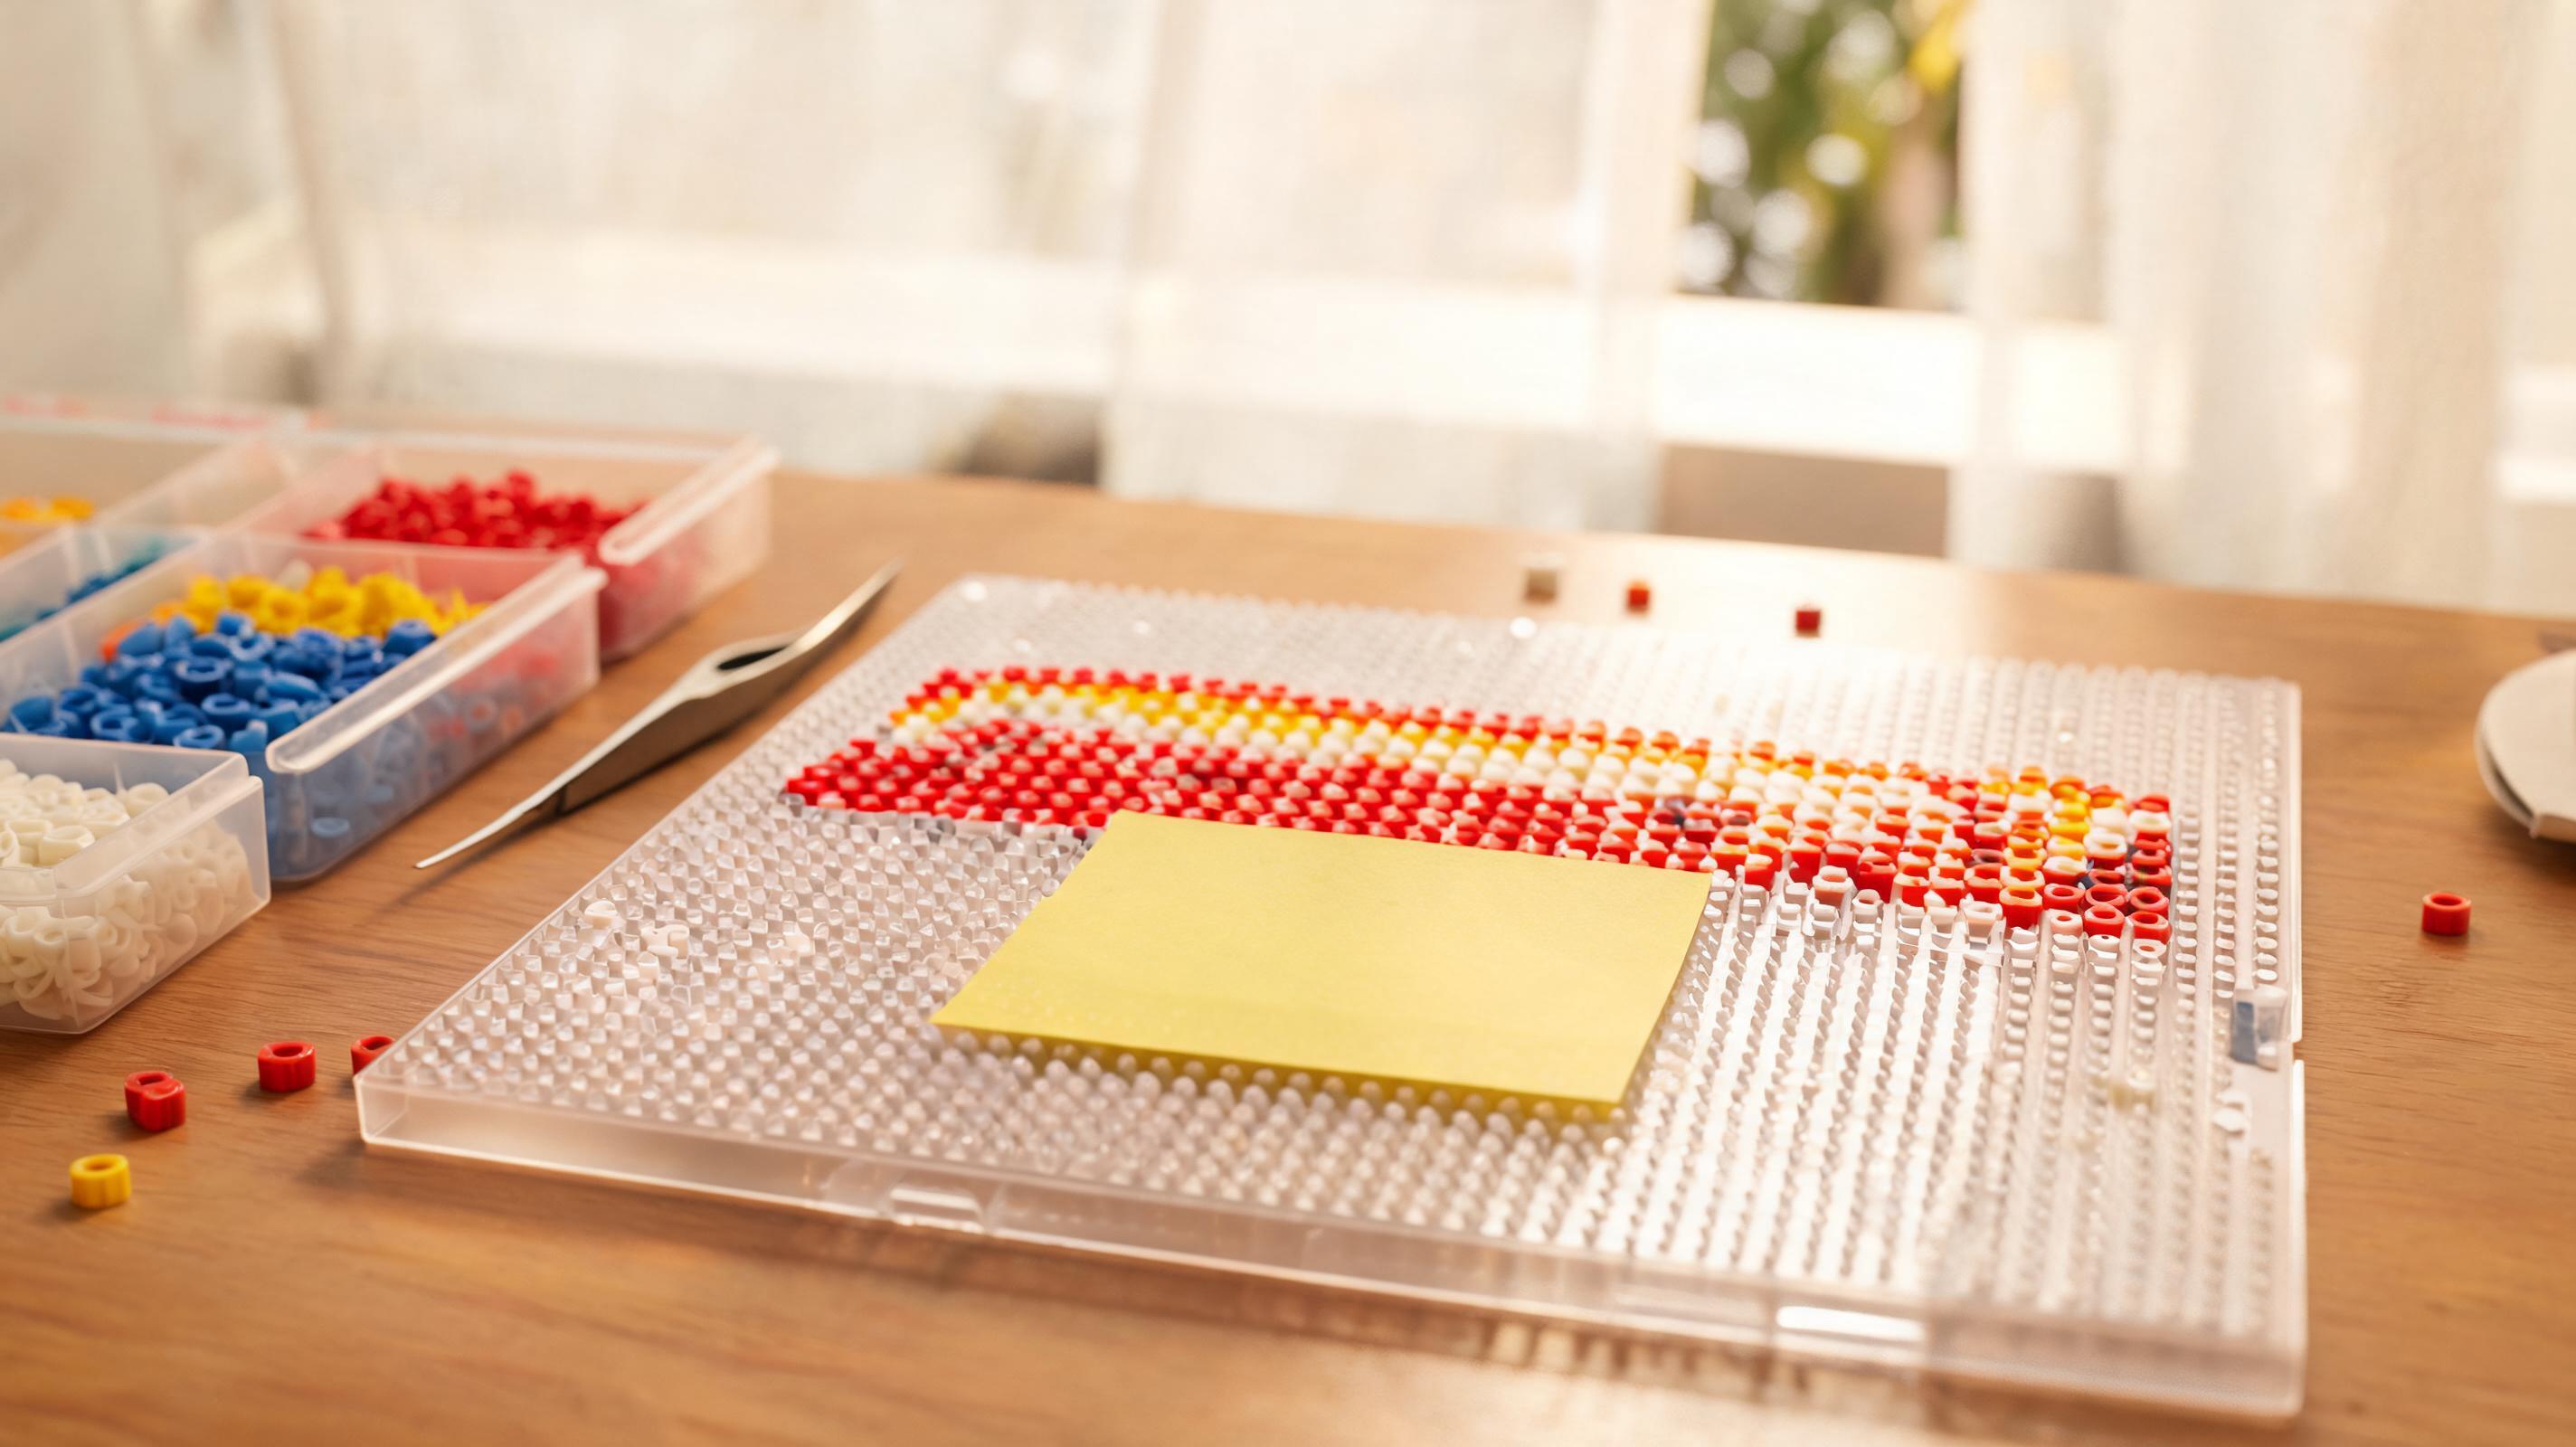
Review Before Finishing
Compare the filled board to the pattern with Bead codes visible in the app. Fix misplaced IDs before ironing — fused beads are permanent. Check edges and single-bead specks; run Apply cleanup in the converter if you notice them digitally first.
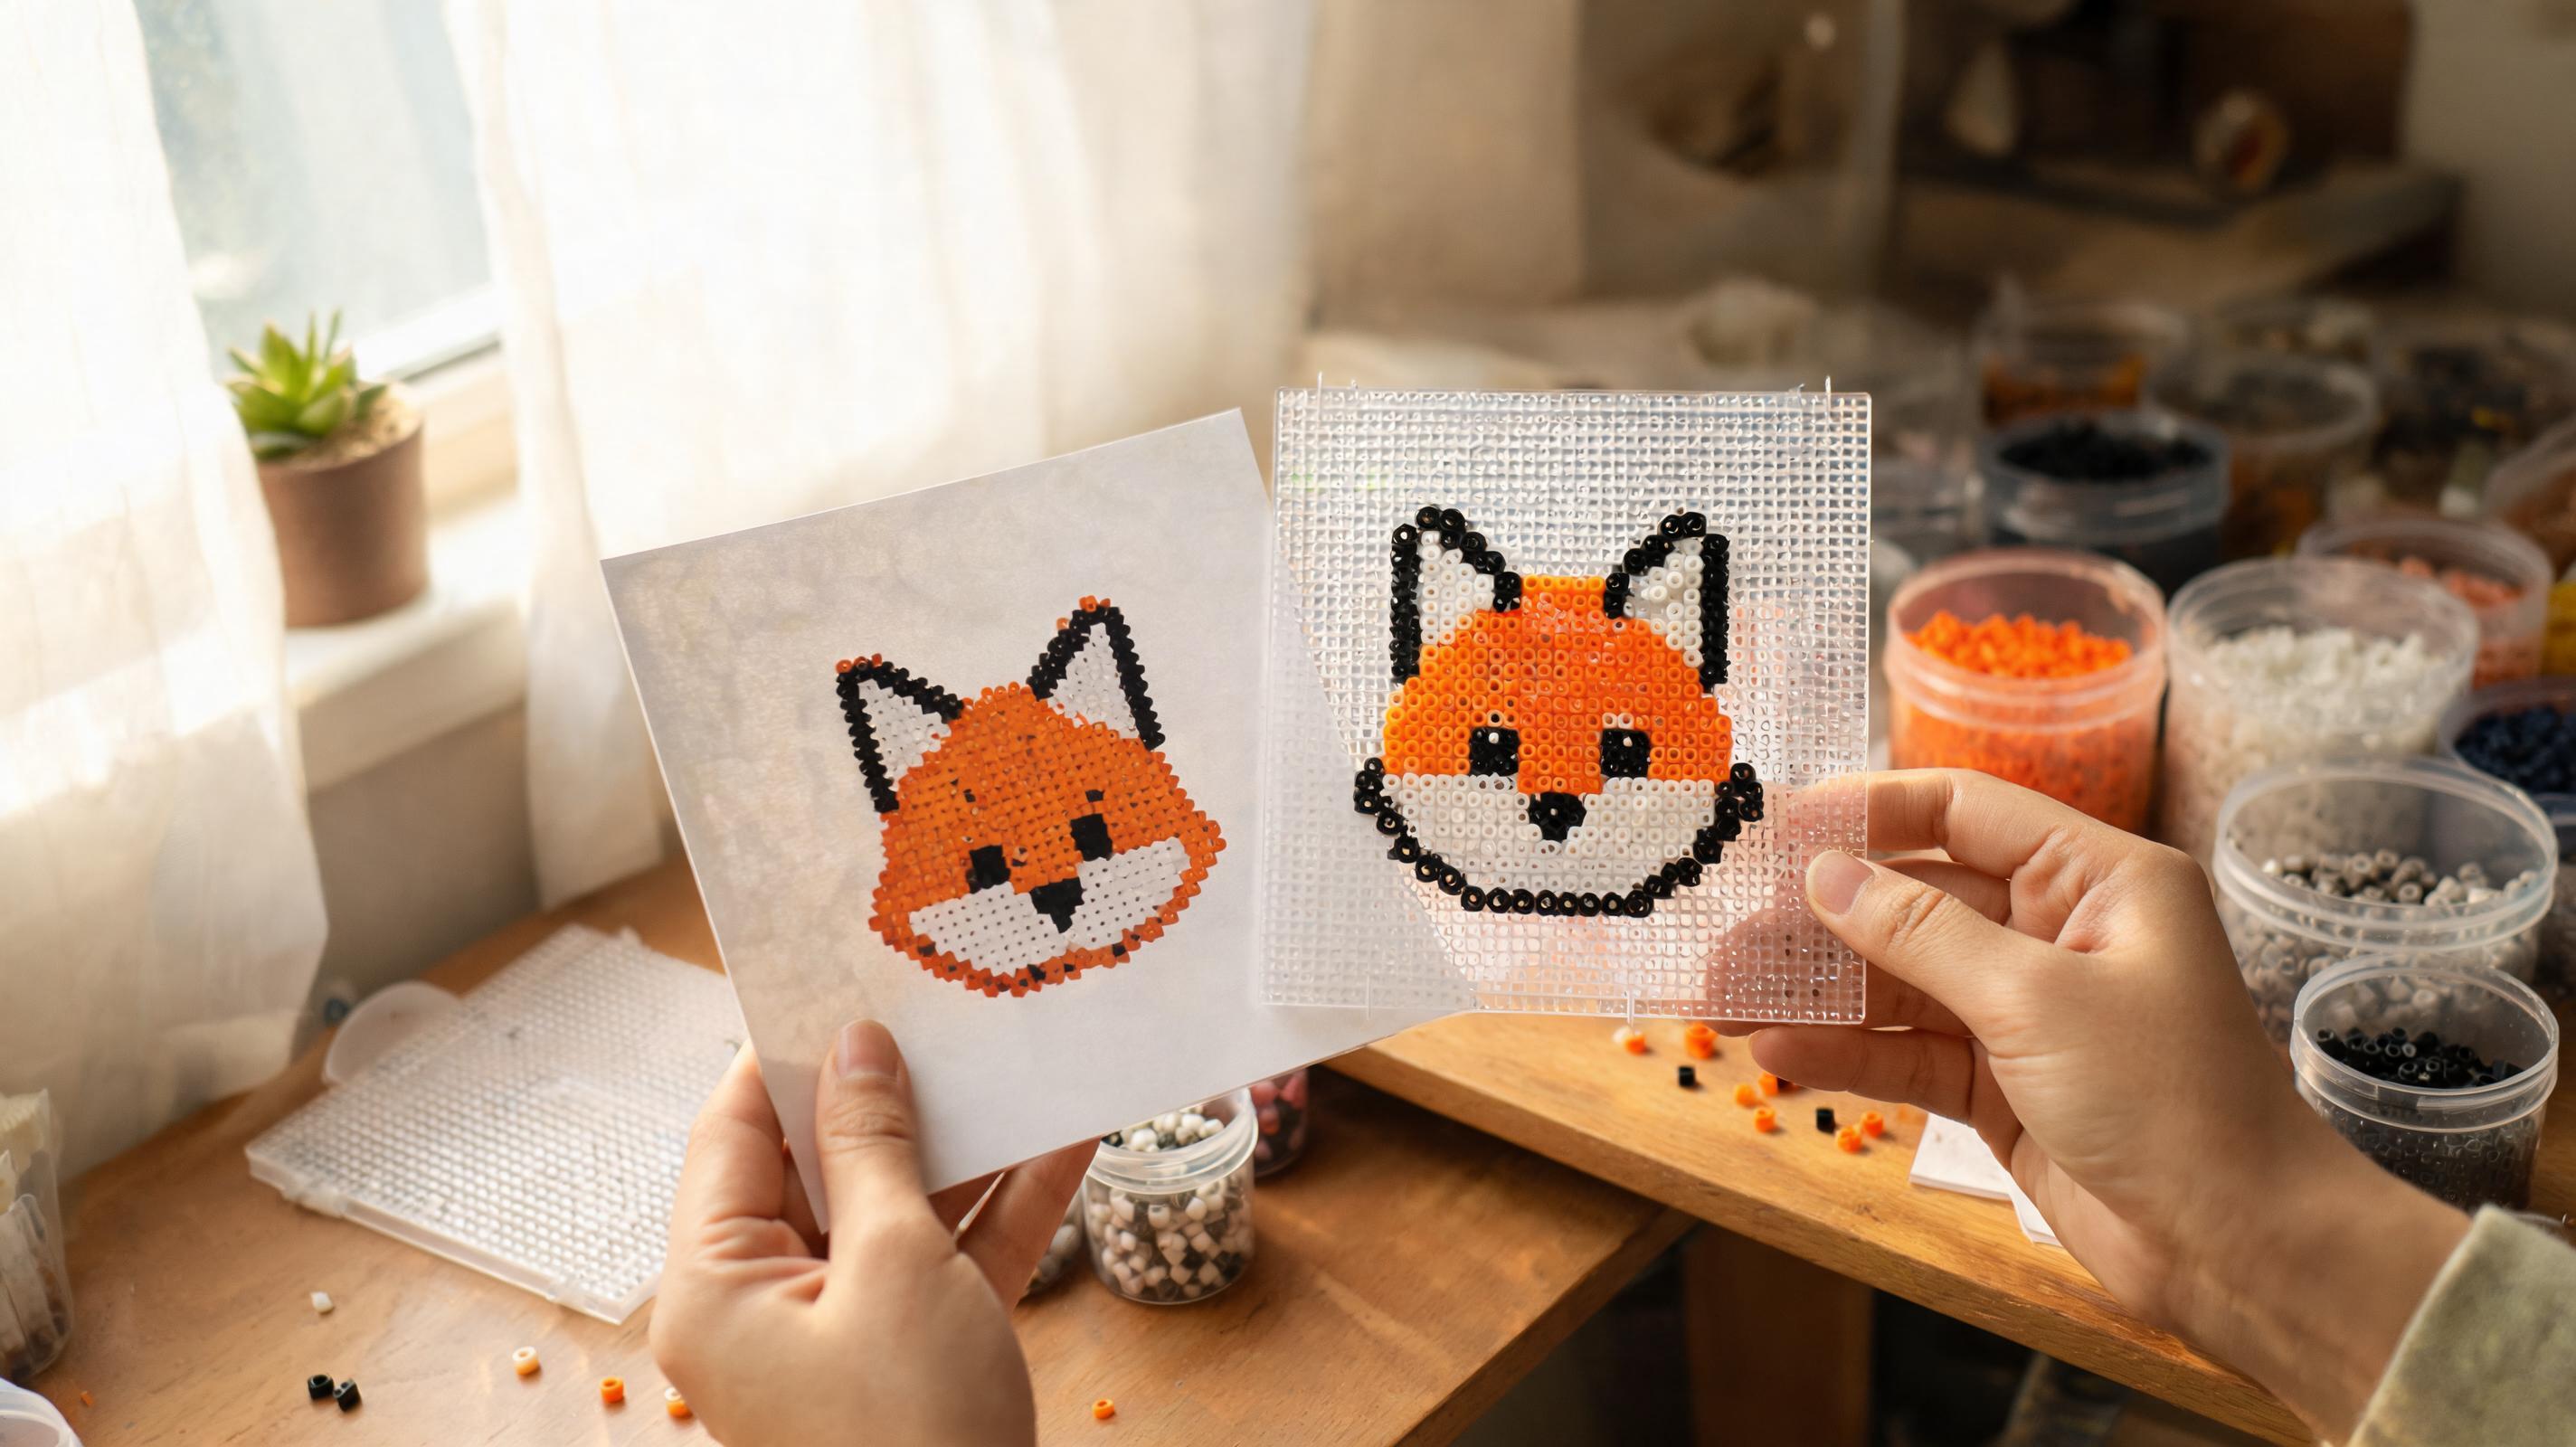
- Missing pegs show as empty holes — fill them before heat.
- Wrong ID in one cell stands out when you squint at the grid.
- Iron evenly with parchment or ironing paper; do not rush the first fuse.