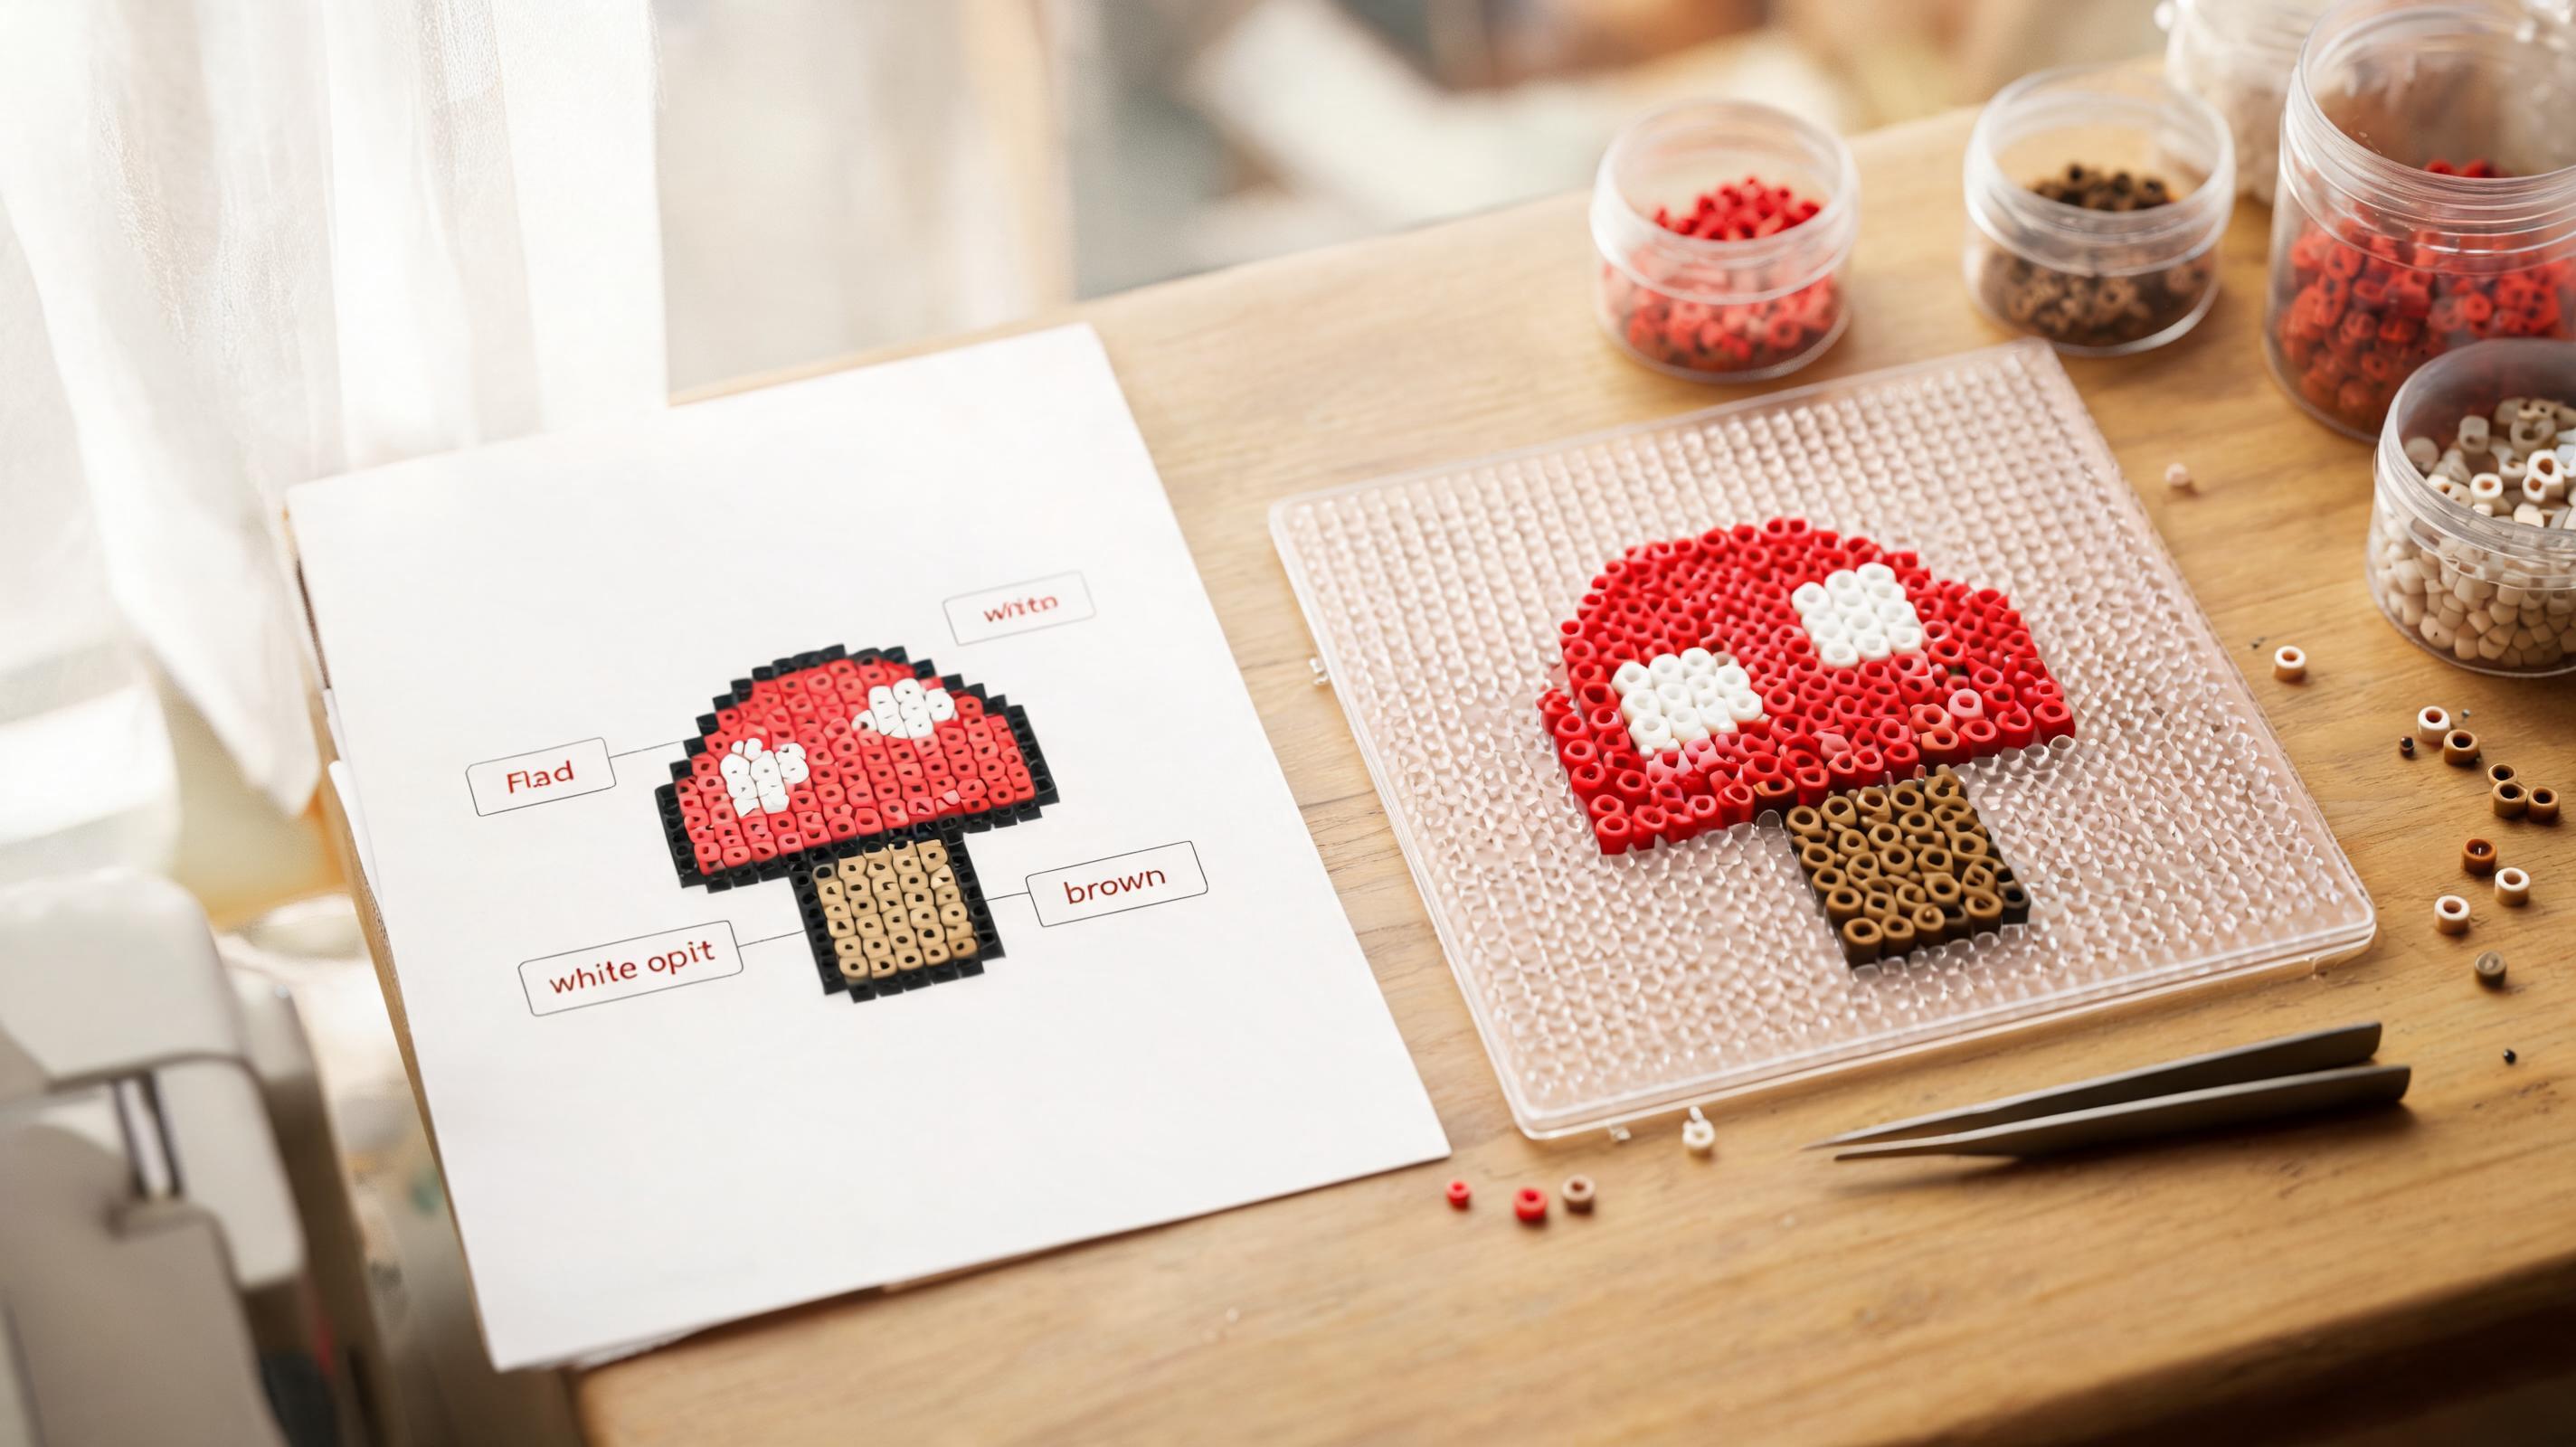
Pixel Bead guide
Create a Pixel Bead Pattern
Plan and draw an original design on a blank grid — canvas sizes, palette choices, and a simple drawing workflow.
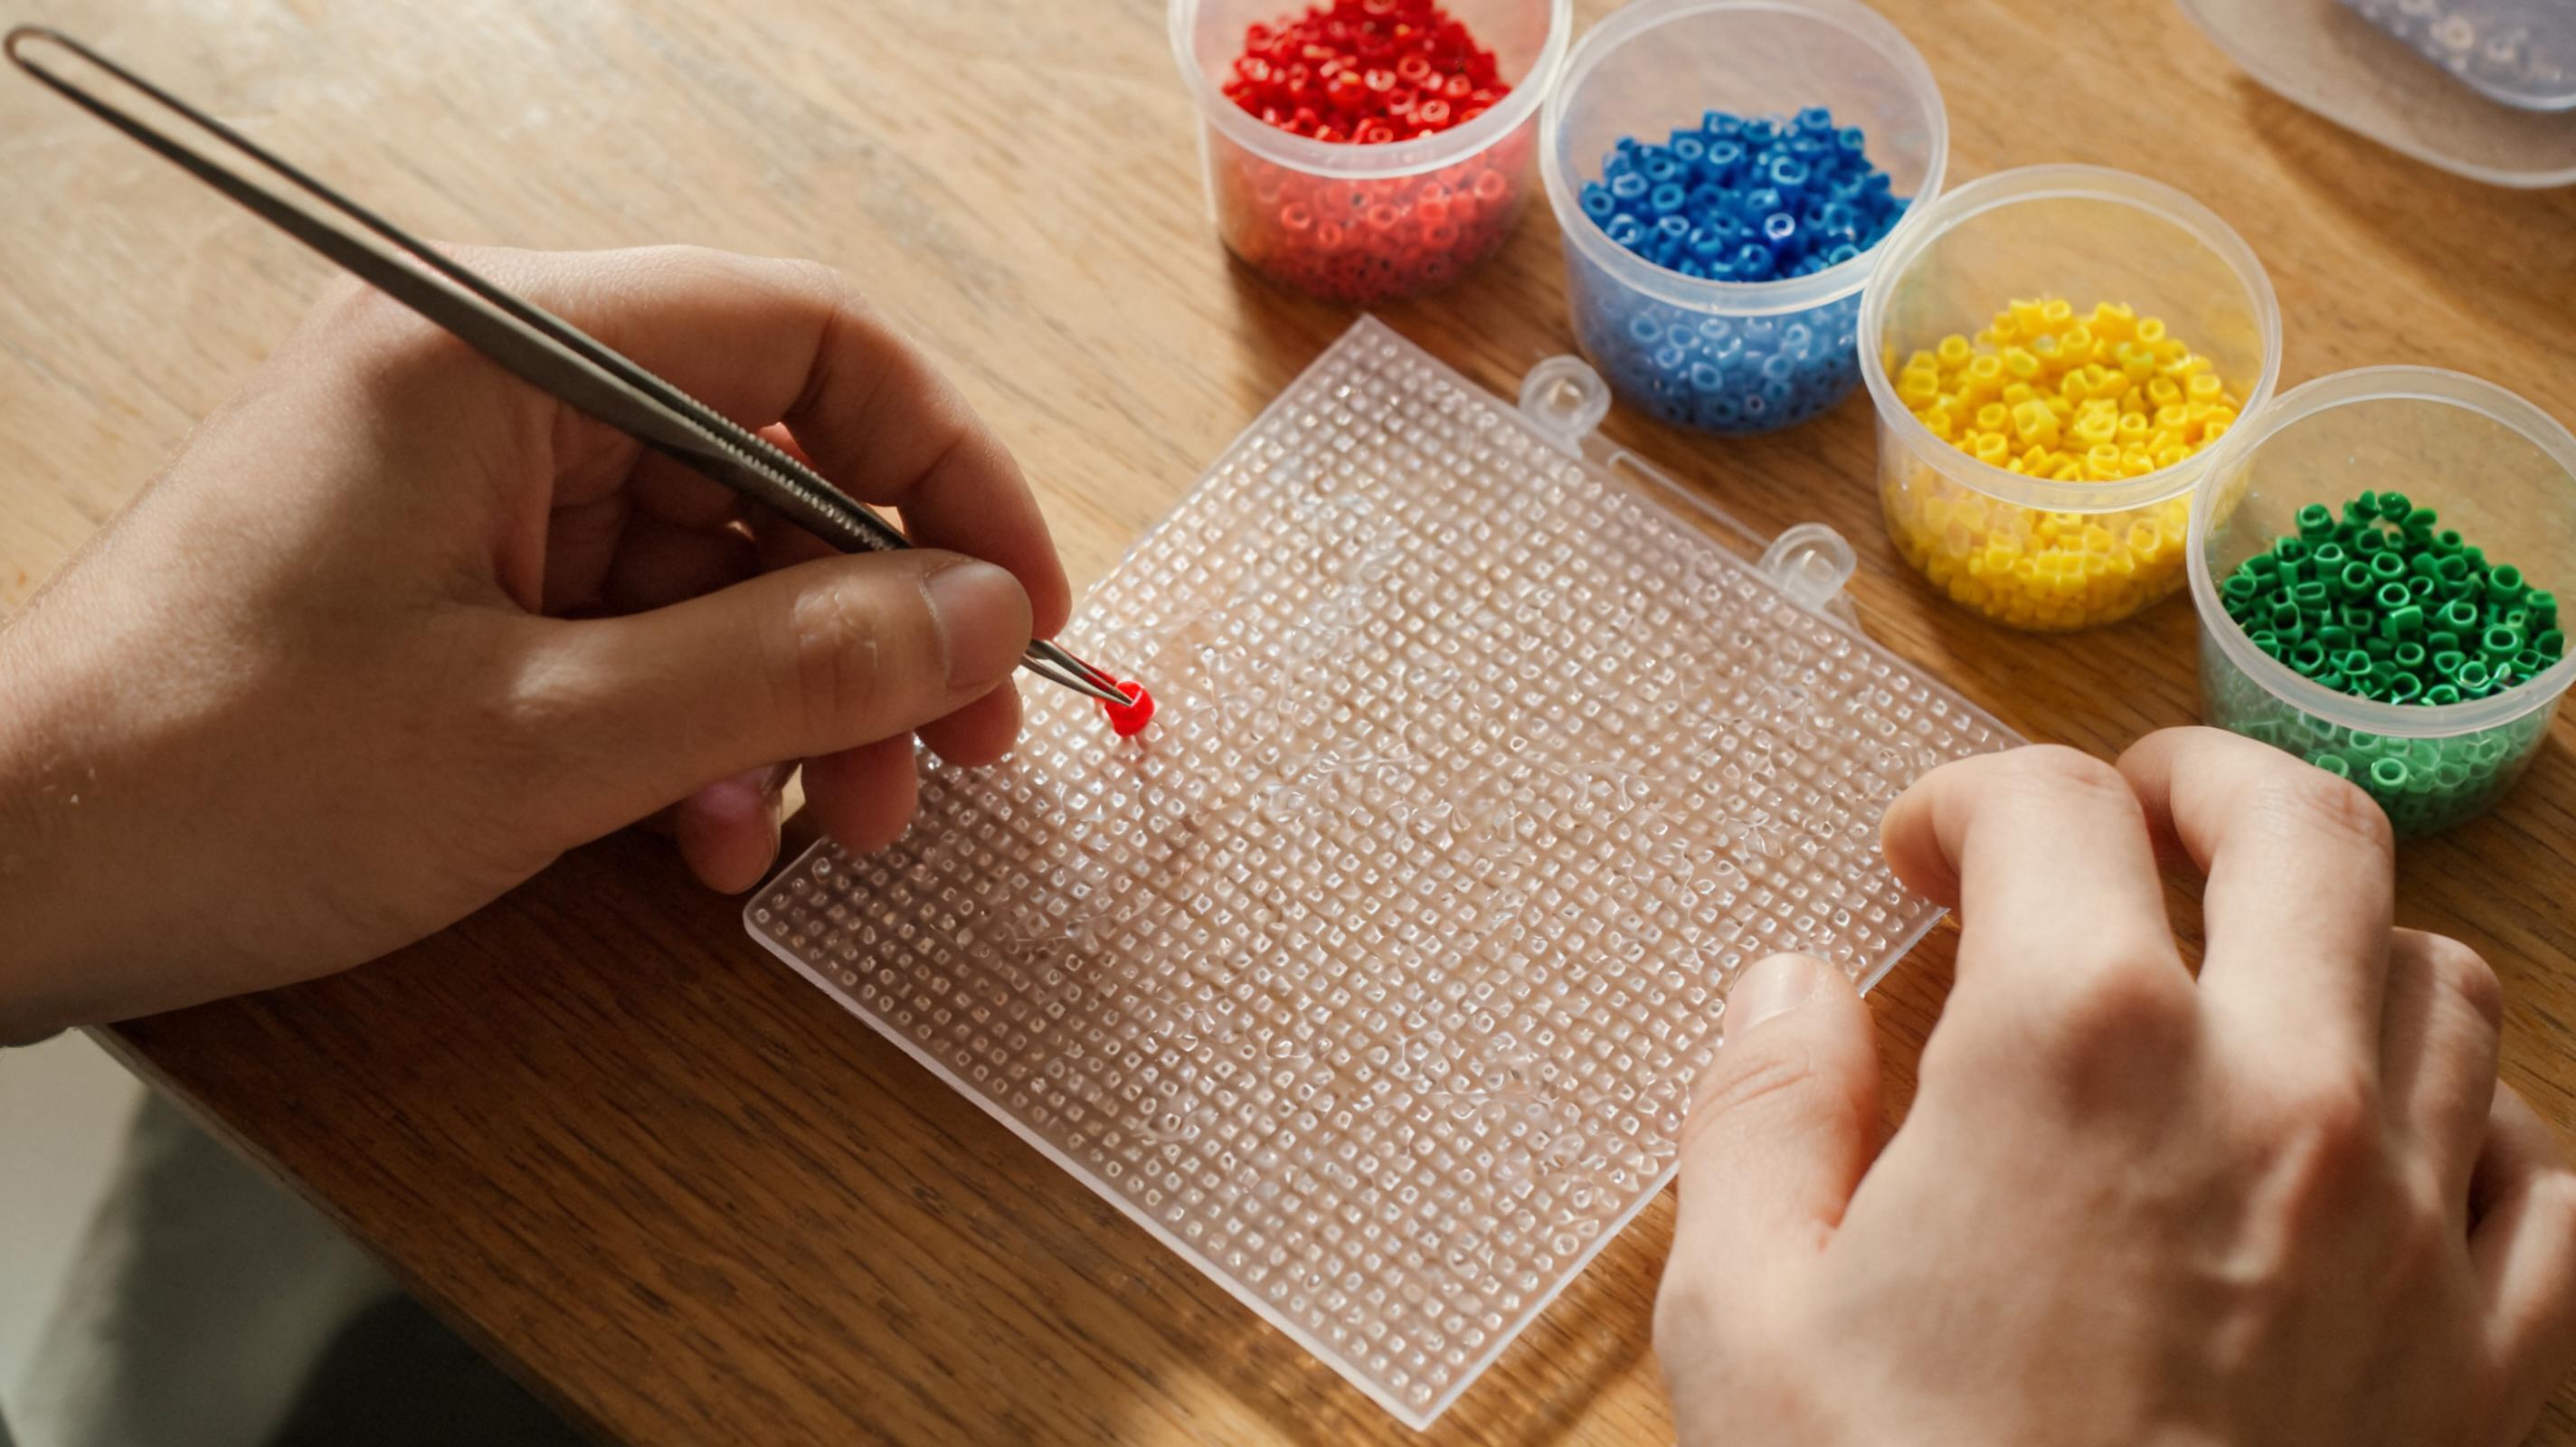
Choose a Canvas
Create from Scratch opens a blank grid. Pick a canvas preset that matches how you will physically build. Mini (16×16) is ideal for icons and tests. 1 board (29×29) matches a standard square peg board.
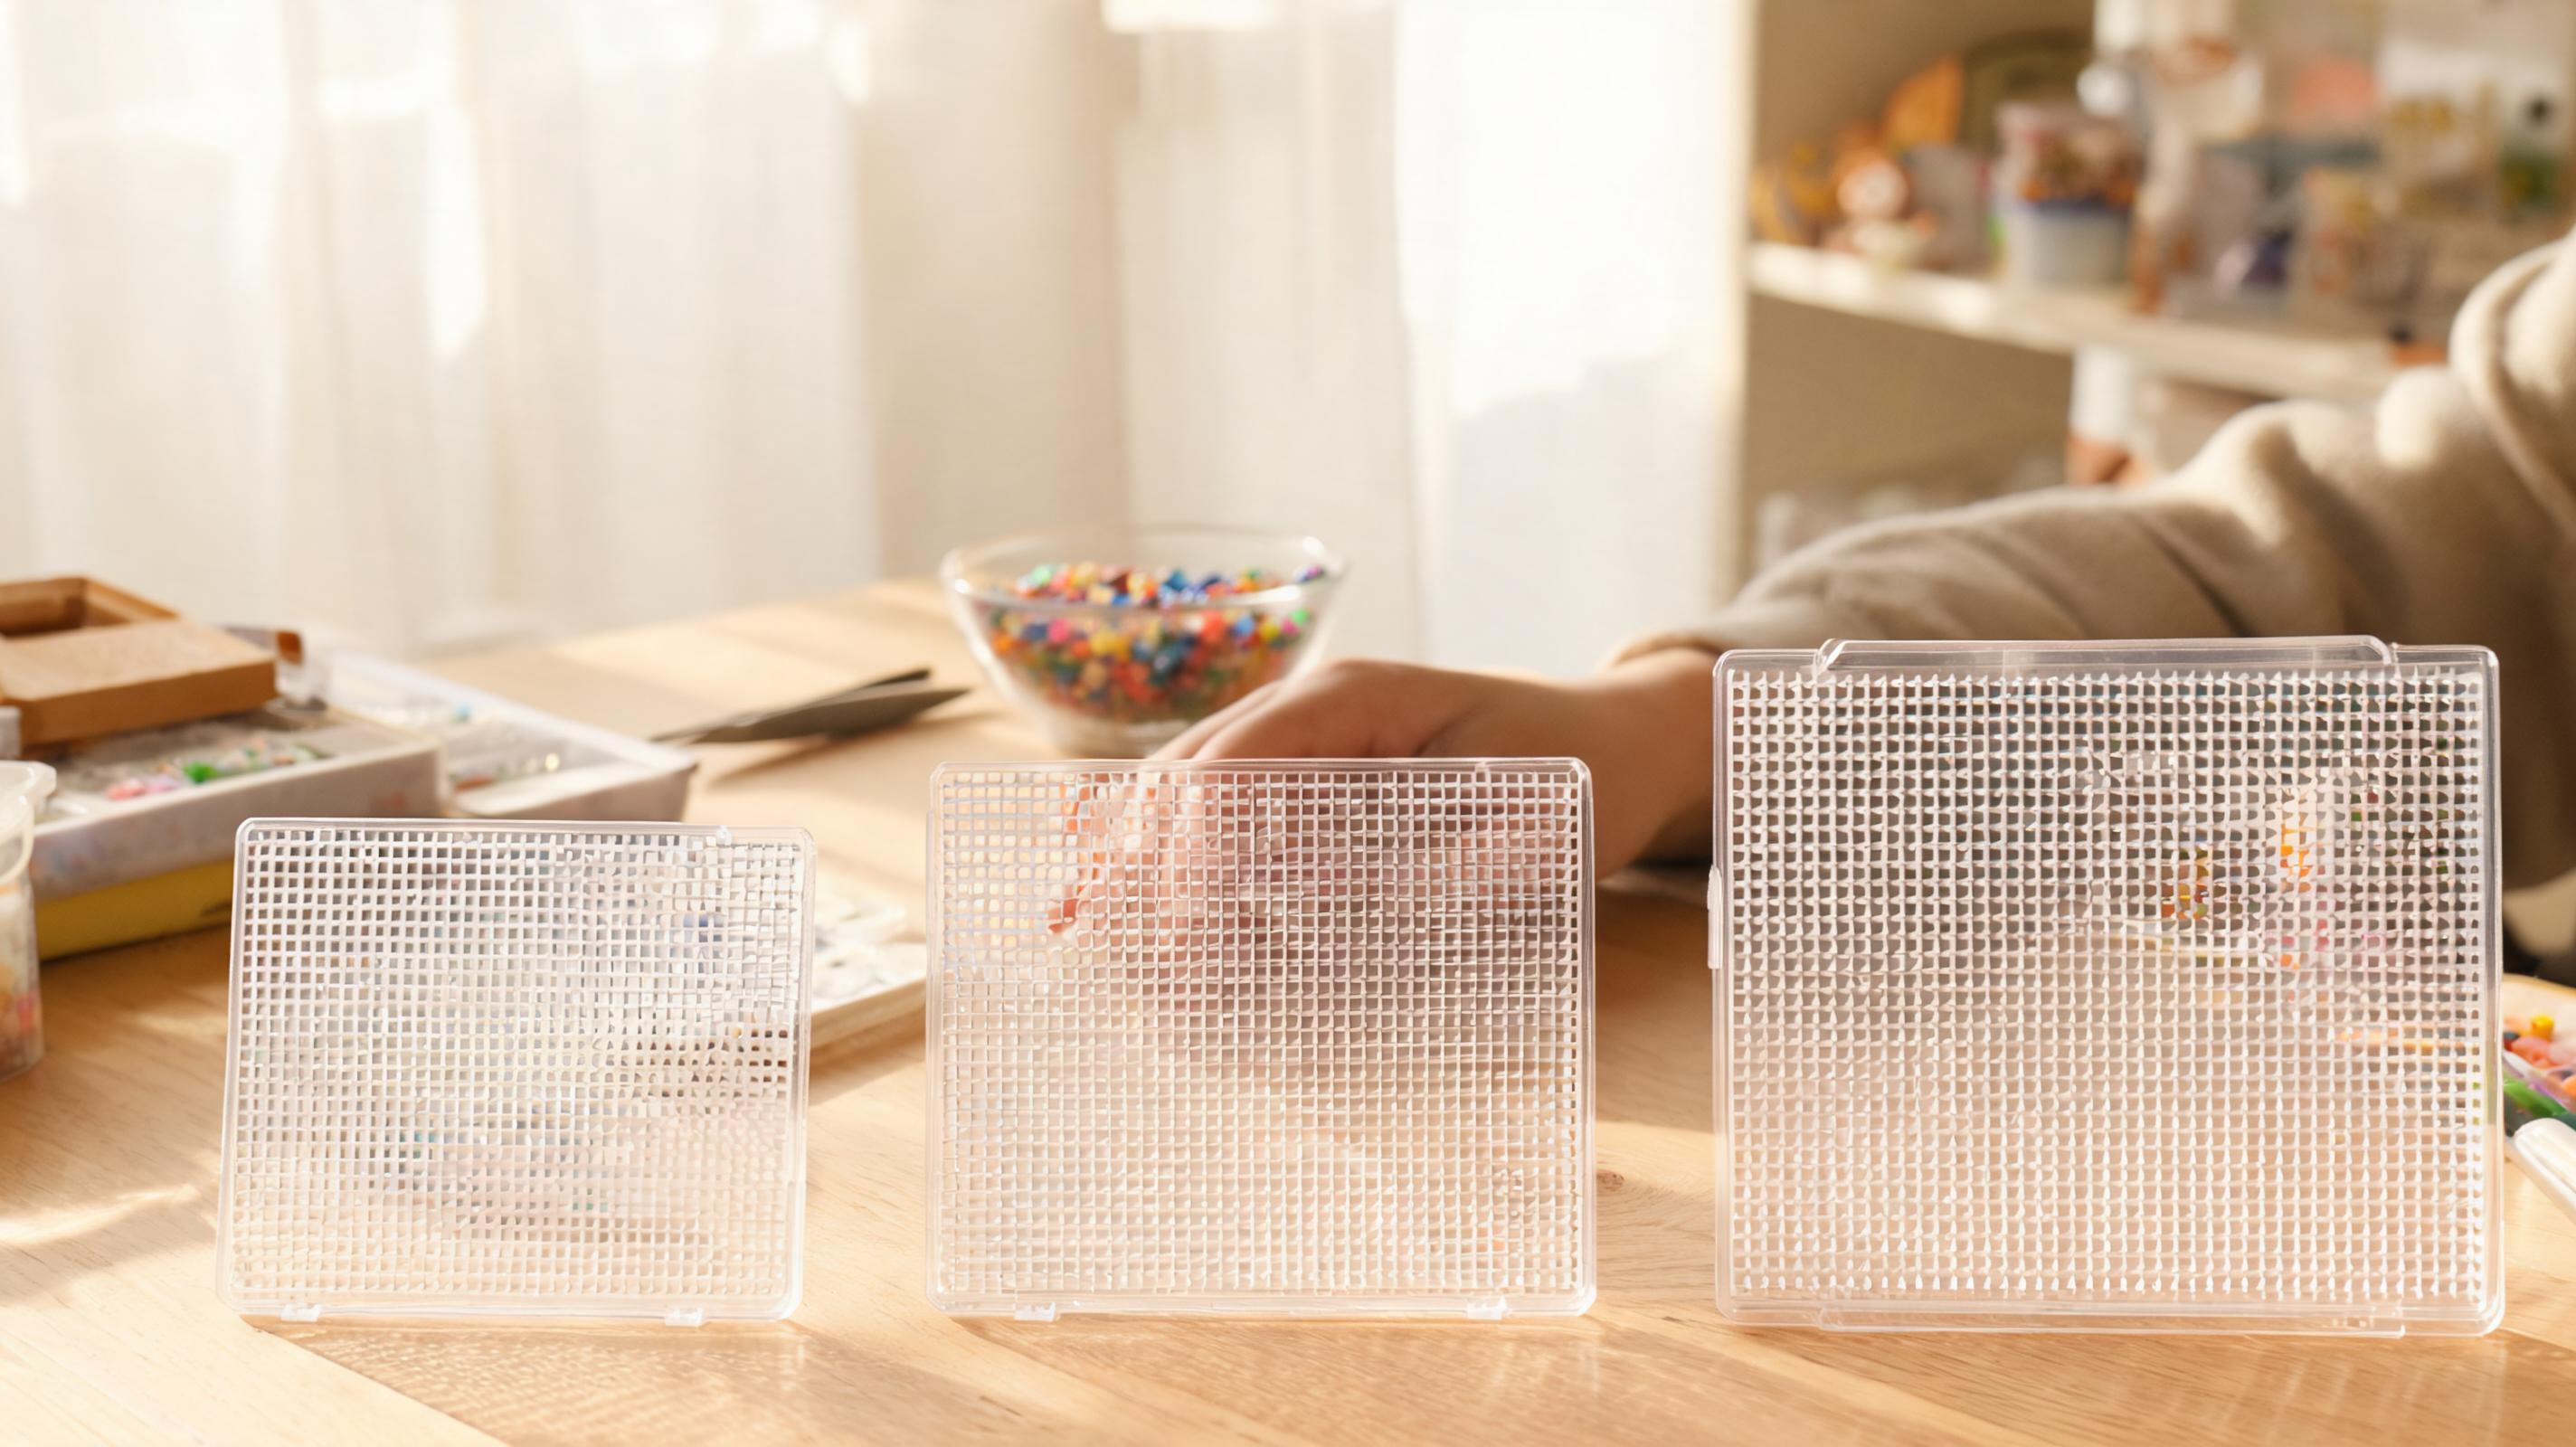
- Mini · 16×16 — quick sketches and keychain-scale art.
- 1 board · 29×29 — standard single-board projects.
- 2×2 boards · 58×58 — larger illustrations.
- 3×3 boards · 87×87 — poster-scale pieces.
- Custom size — enter width and height; changing size resets the grid.
Build a Focused Palette
Select your bead brand in the Palette section. The color picker groups swatches by color family so you can browse hundreds of IDs without scrolling endlessly. Recent colors appear at the top for fast switching.
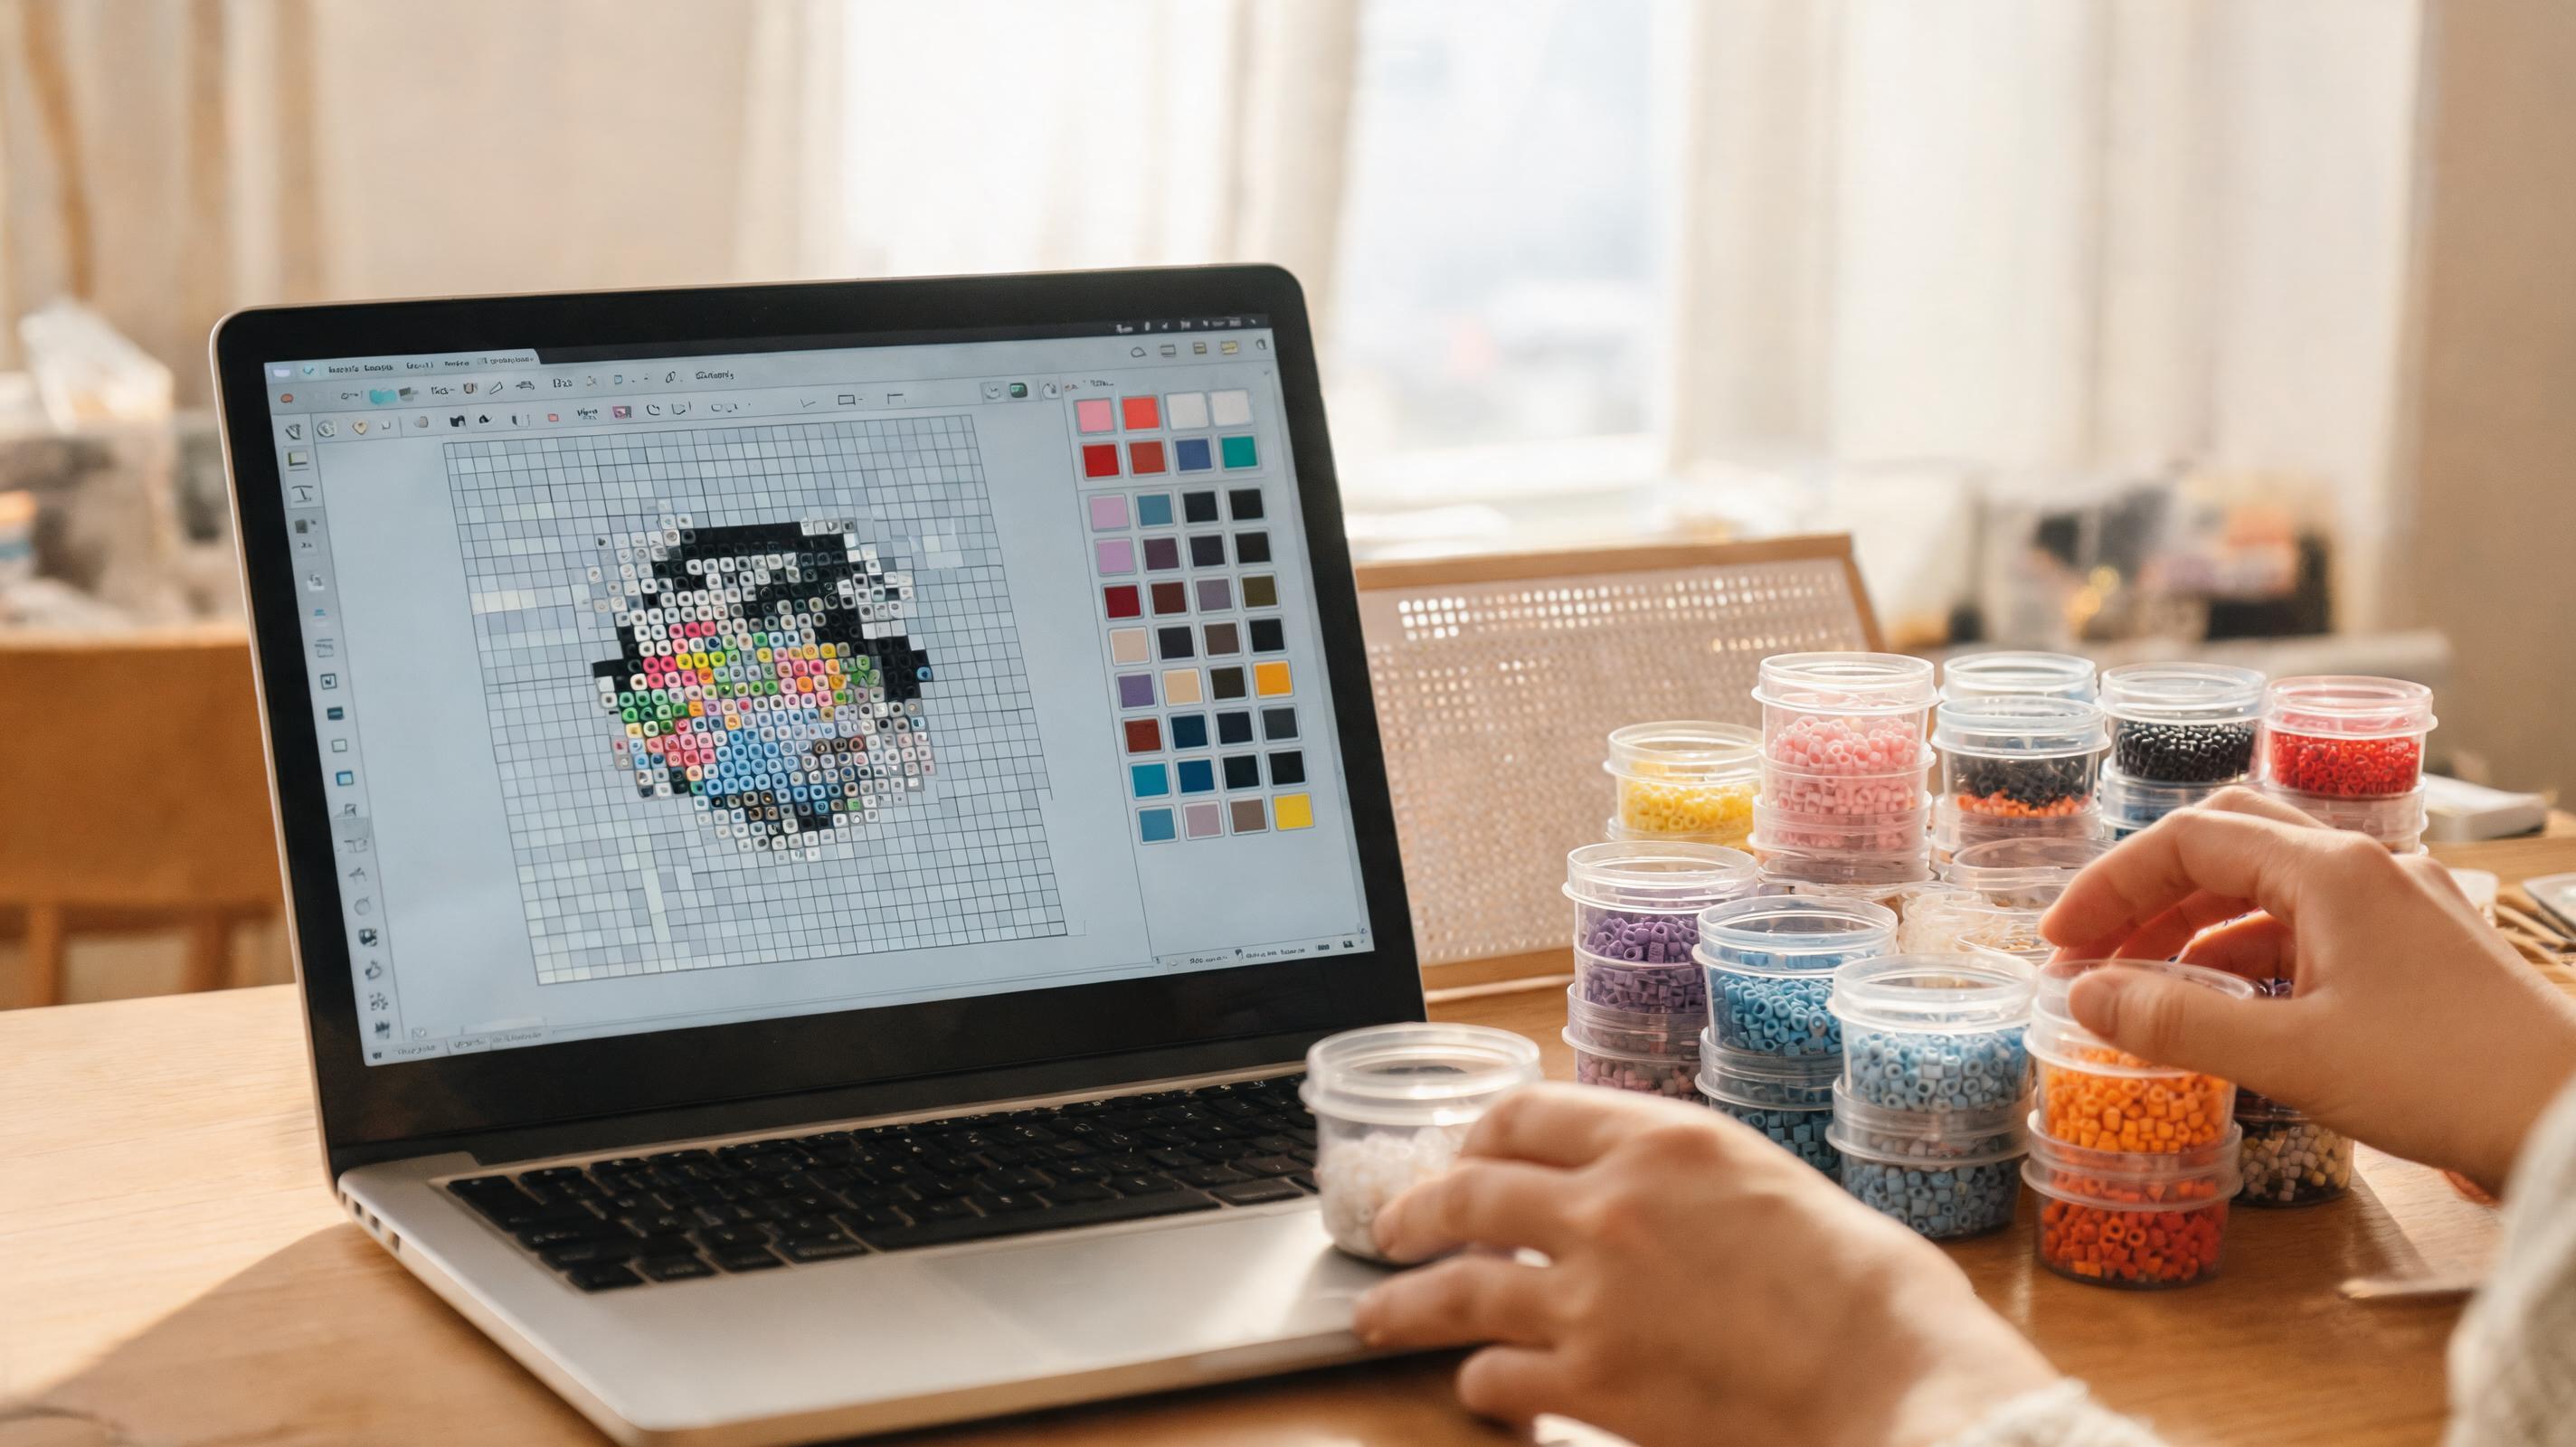
- Click a swatch to select your active paint color.
- Limit to my inventory colors — hides swatches you have not marked as owned.
- Replace color — pick a source swatch, choose a target, then click Replace color in the toolbar to swap every instance on the grid.
Draw the Main Shape
Use Paint to place beads, Erase to clear cells, Fill to flood an enclosed area, and Eyedropper to sample a color already on the grid. Undo and Redo cover your last edits.
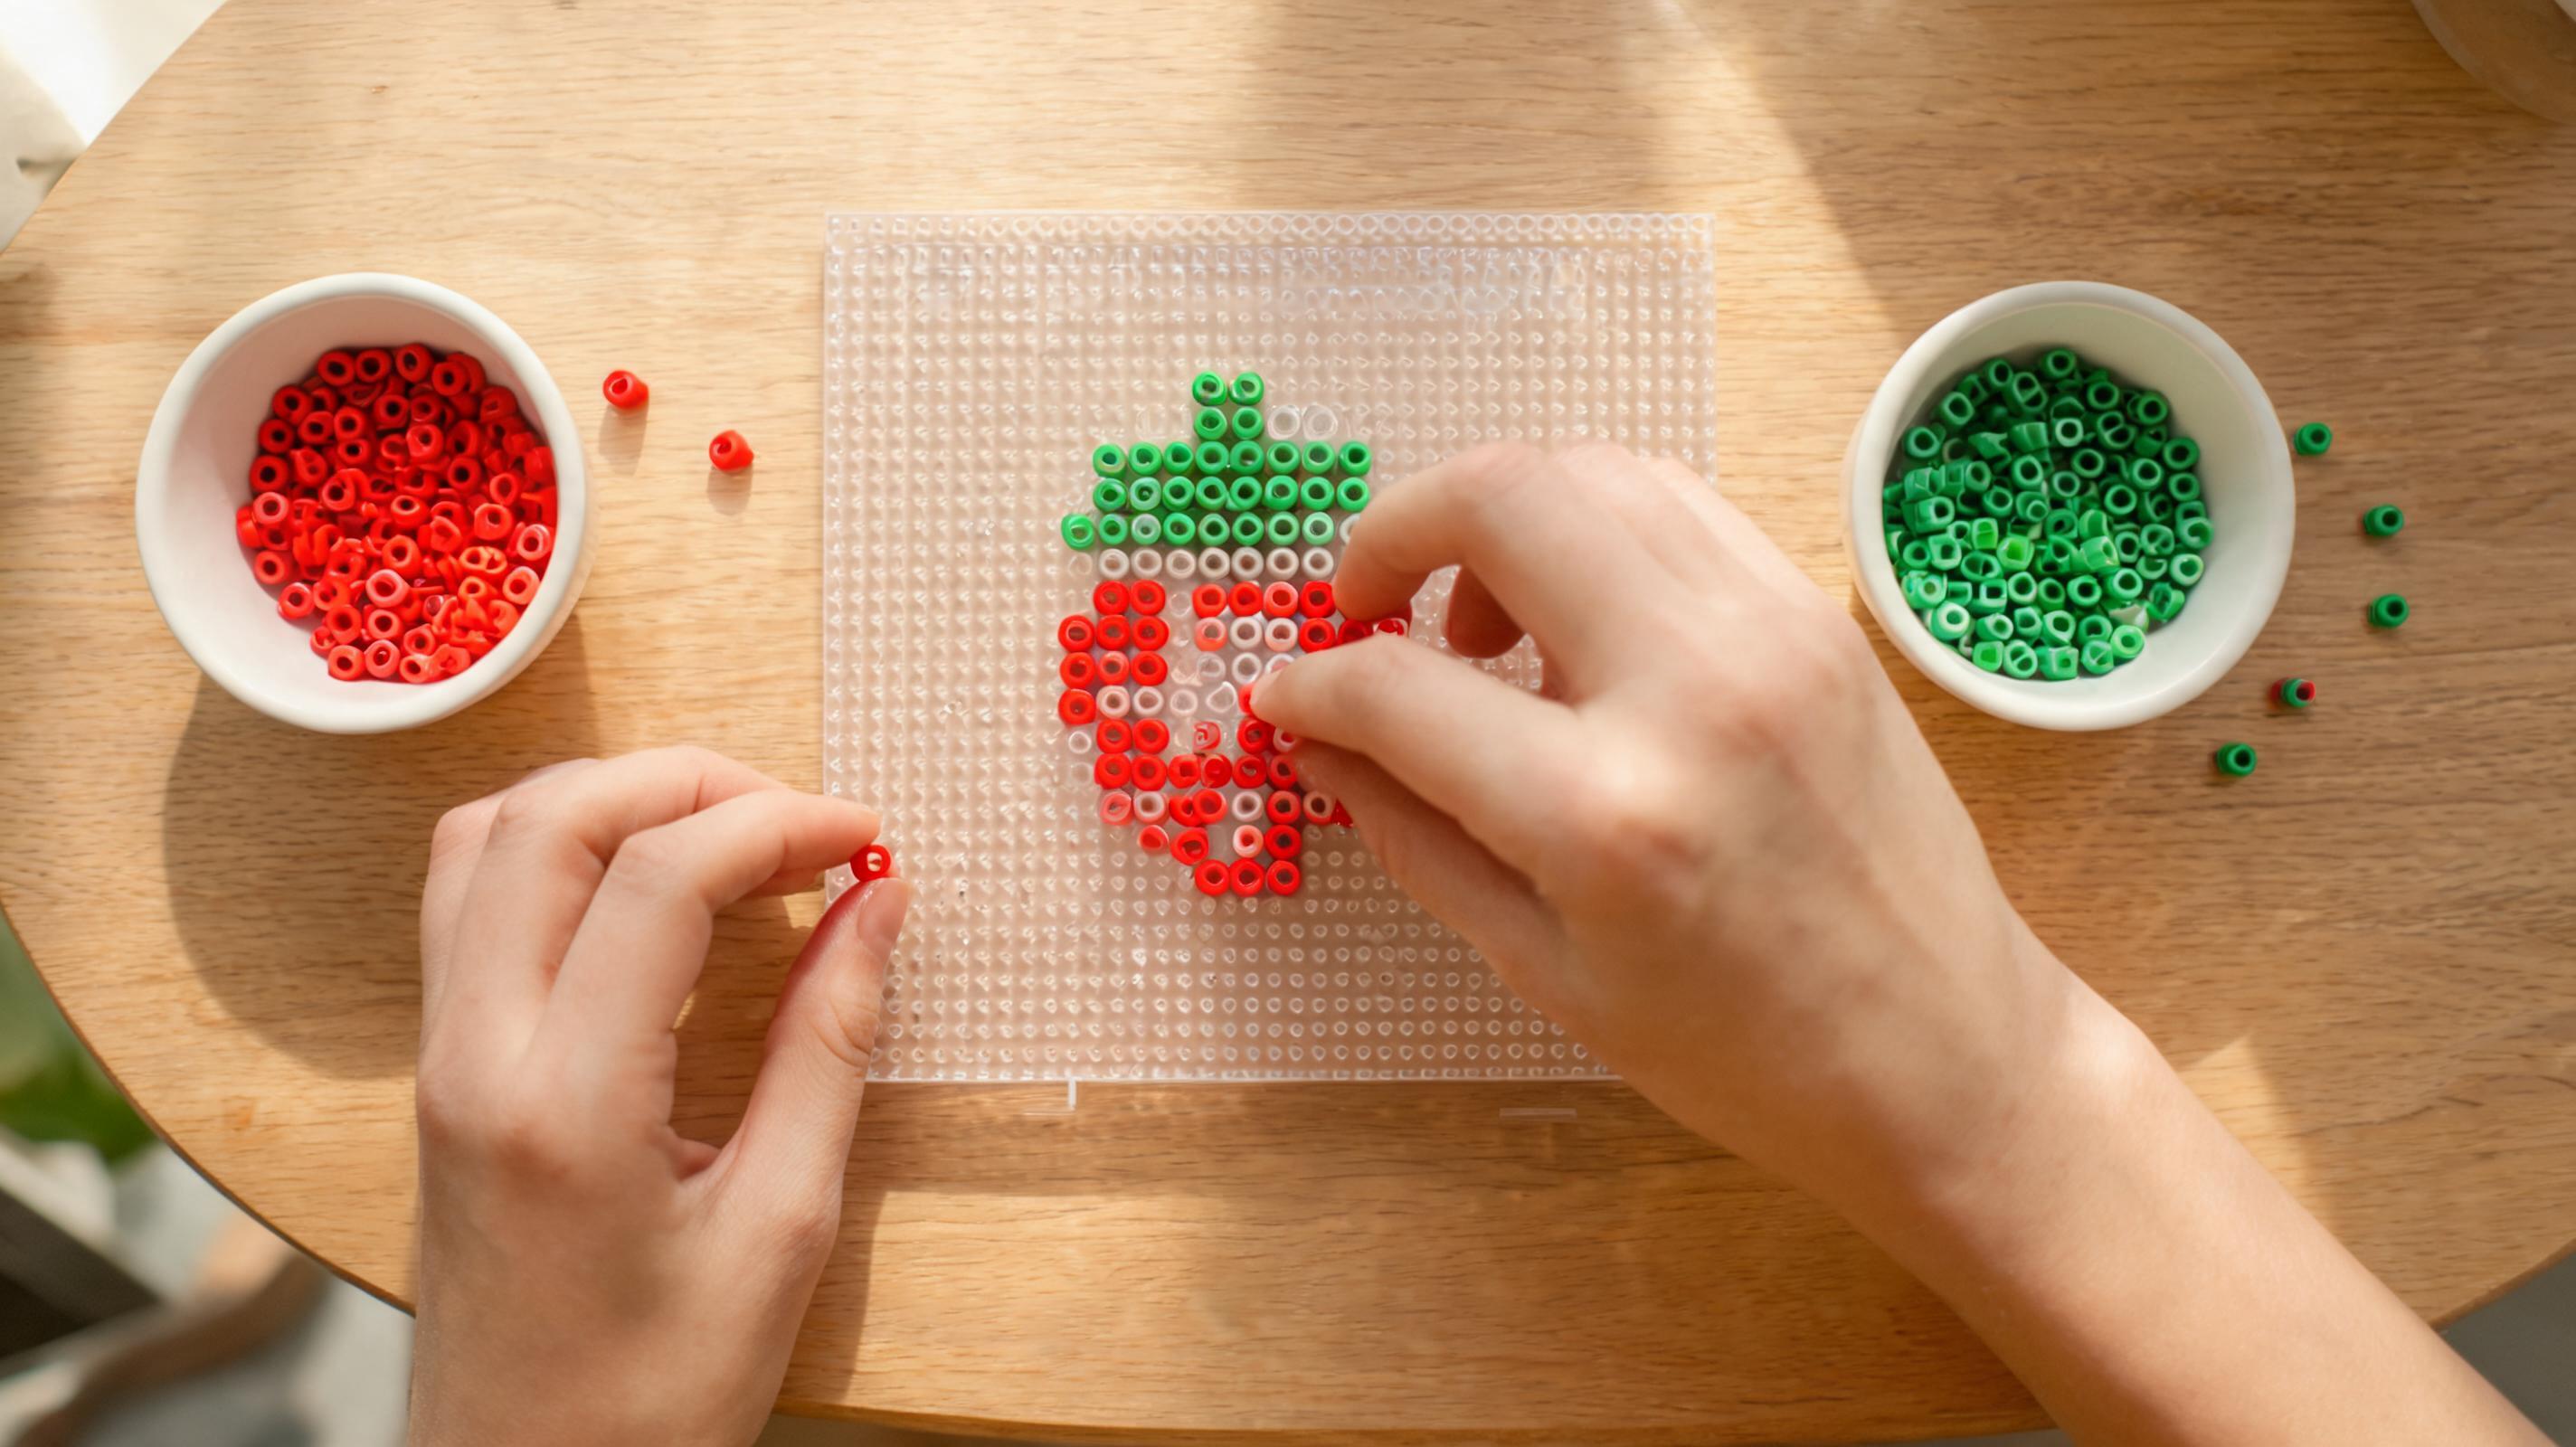
- Block in large areas with Fill after outlining with Paint.
- Zoom in on large grids — the viewbar explains scroll-to-edit behavior above 50 pegs.
- Toggle Bead codes on while outlining so you can read IDs without guessing.
Save and Test the Pattern
When the design looks right, Download exports PNG/PDF guides. Save to Workspace keeps the editable project. Build a small test corner on a physical board before committing to a large grid — colors look different in hand than on screen.