Pixel Bead guide
How to Use the Image to Pixel Bead Converter
A complete walkthrough of the Image to Pixel Bead tool — every button, slider, and setting on the left panel, preview, and download column.
Upload, Replace, and Remove
Open Image to Pixel Bead and click Upload your image, or drag a file onto the card. Supported formats are PNG, JPG, and WebP up to 10 MB. Once a file is loaded, the preview generates automatically.
- Replace — swap the source photo without resetting your other settings.
- Remove — clears the image and returns to the empty upload stage.
- Or start from the pattern library — open a design and send it to the converter from there.
Pattern Size and Custom Dimensions
The Pattern size dropdown sets a target width and calculates height from the uploaded image, so the source shape is not forced into a square. Choose Custom dimensions to enter width and height independently for a fixed board arrangement.
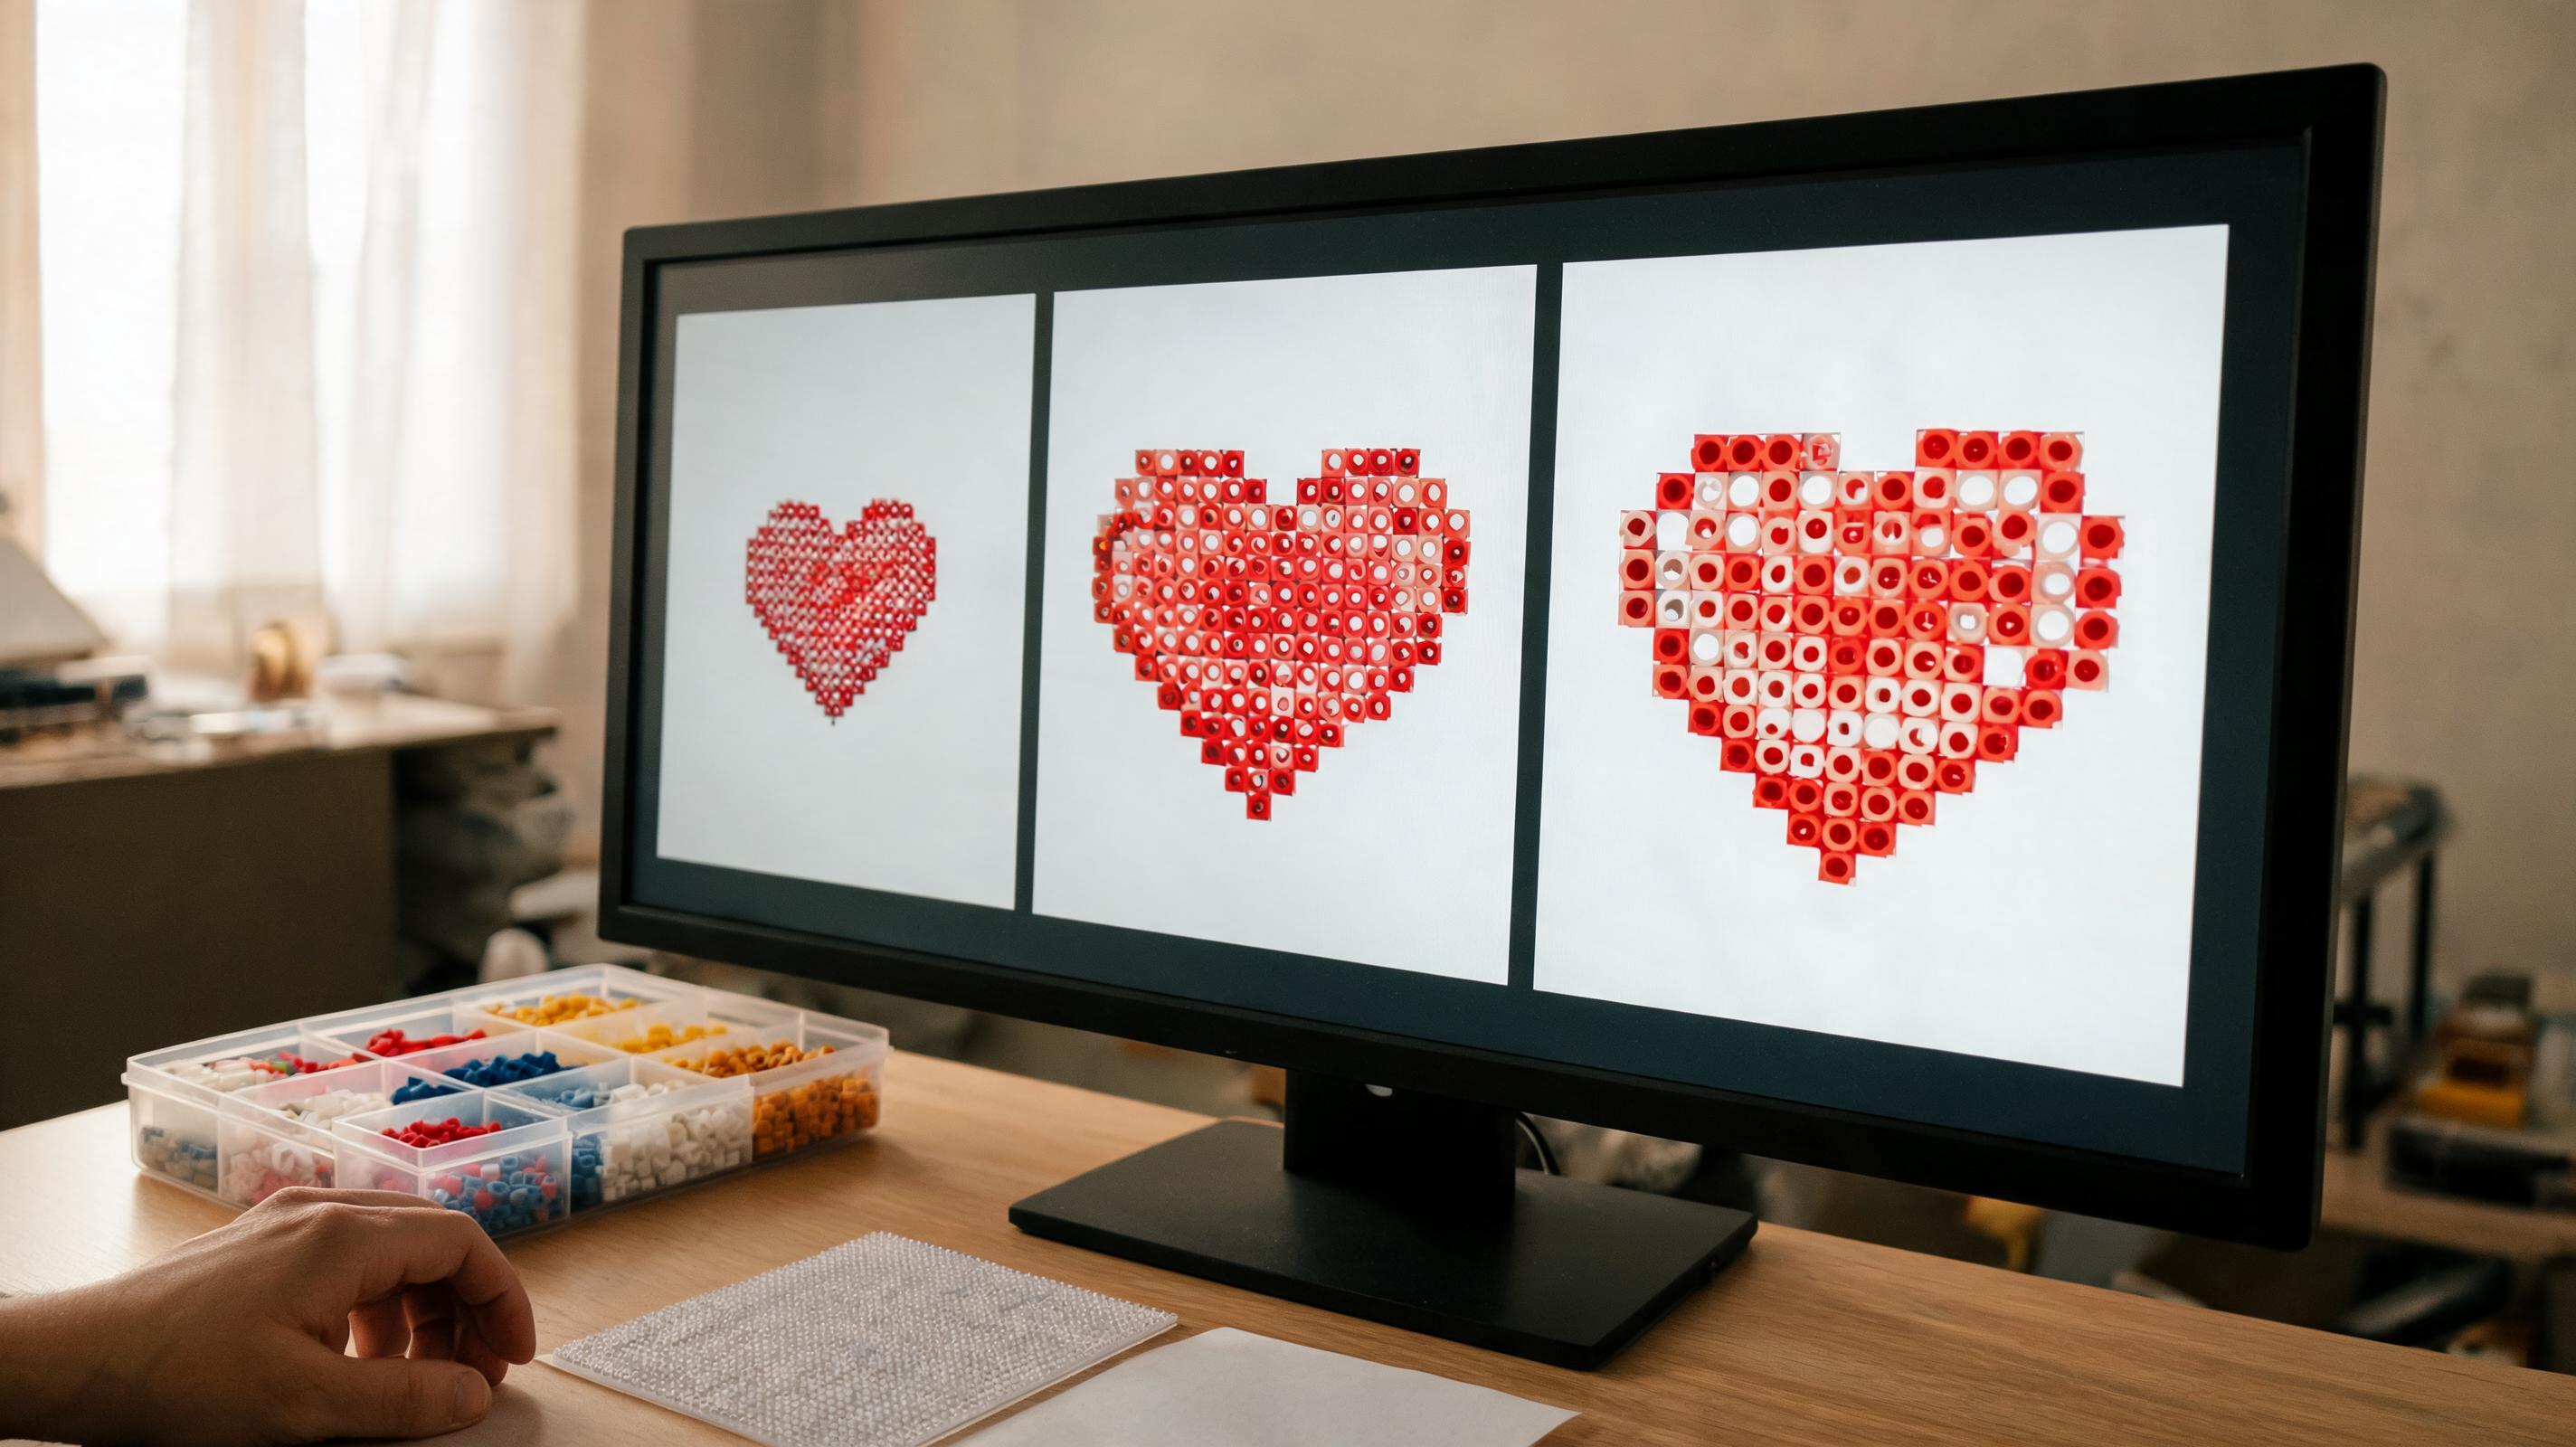
- Small · 29 wide — a compact, lower-detail conversion.
- Medium · 58 wide — the default balance for most photos.
- Large · 87 wide — more shape and color detail with a longer build time.
- Custom — type any width and height; watch the cell total and board estimate below the fields.
Colors (Brand Palette)
The Colors dropdown selects which real-world bead palette the converter matches against — MARD, Perler, Hama, Artkal, COCO, and others. Every color in the output will be an ID from that brand's catalog.
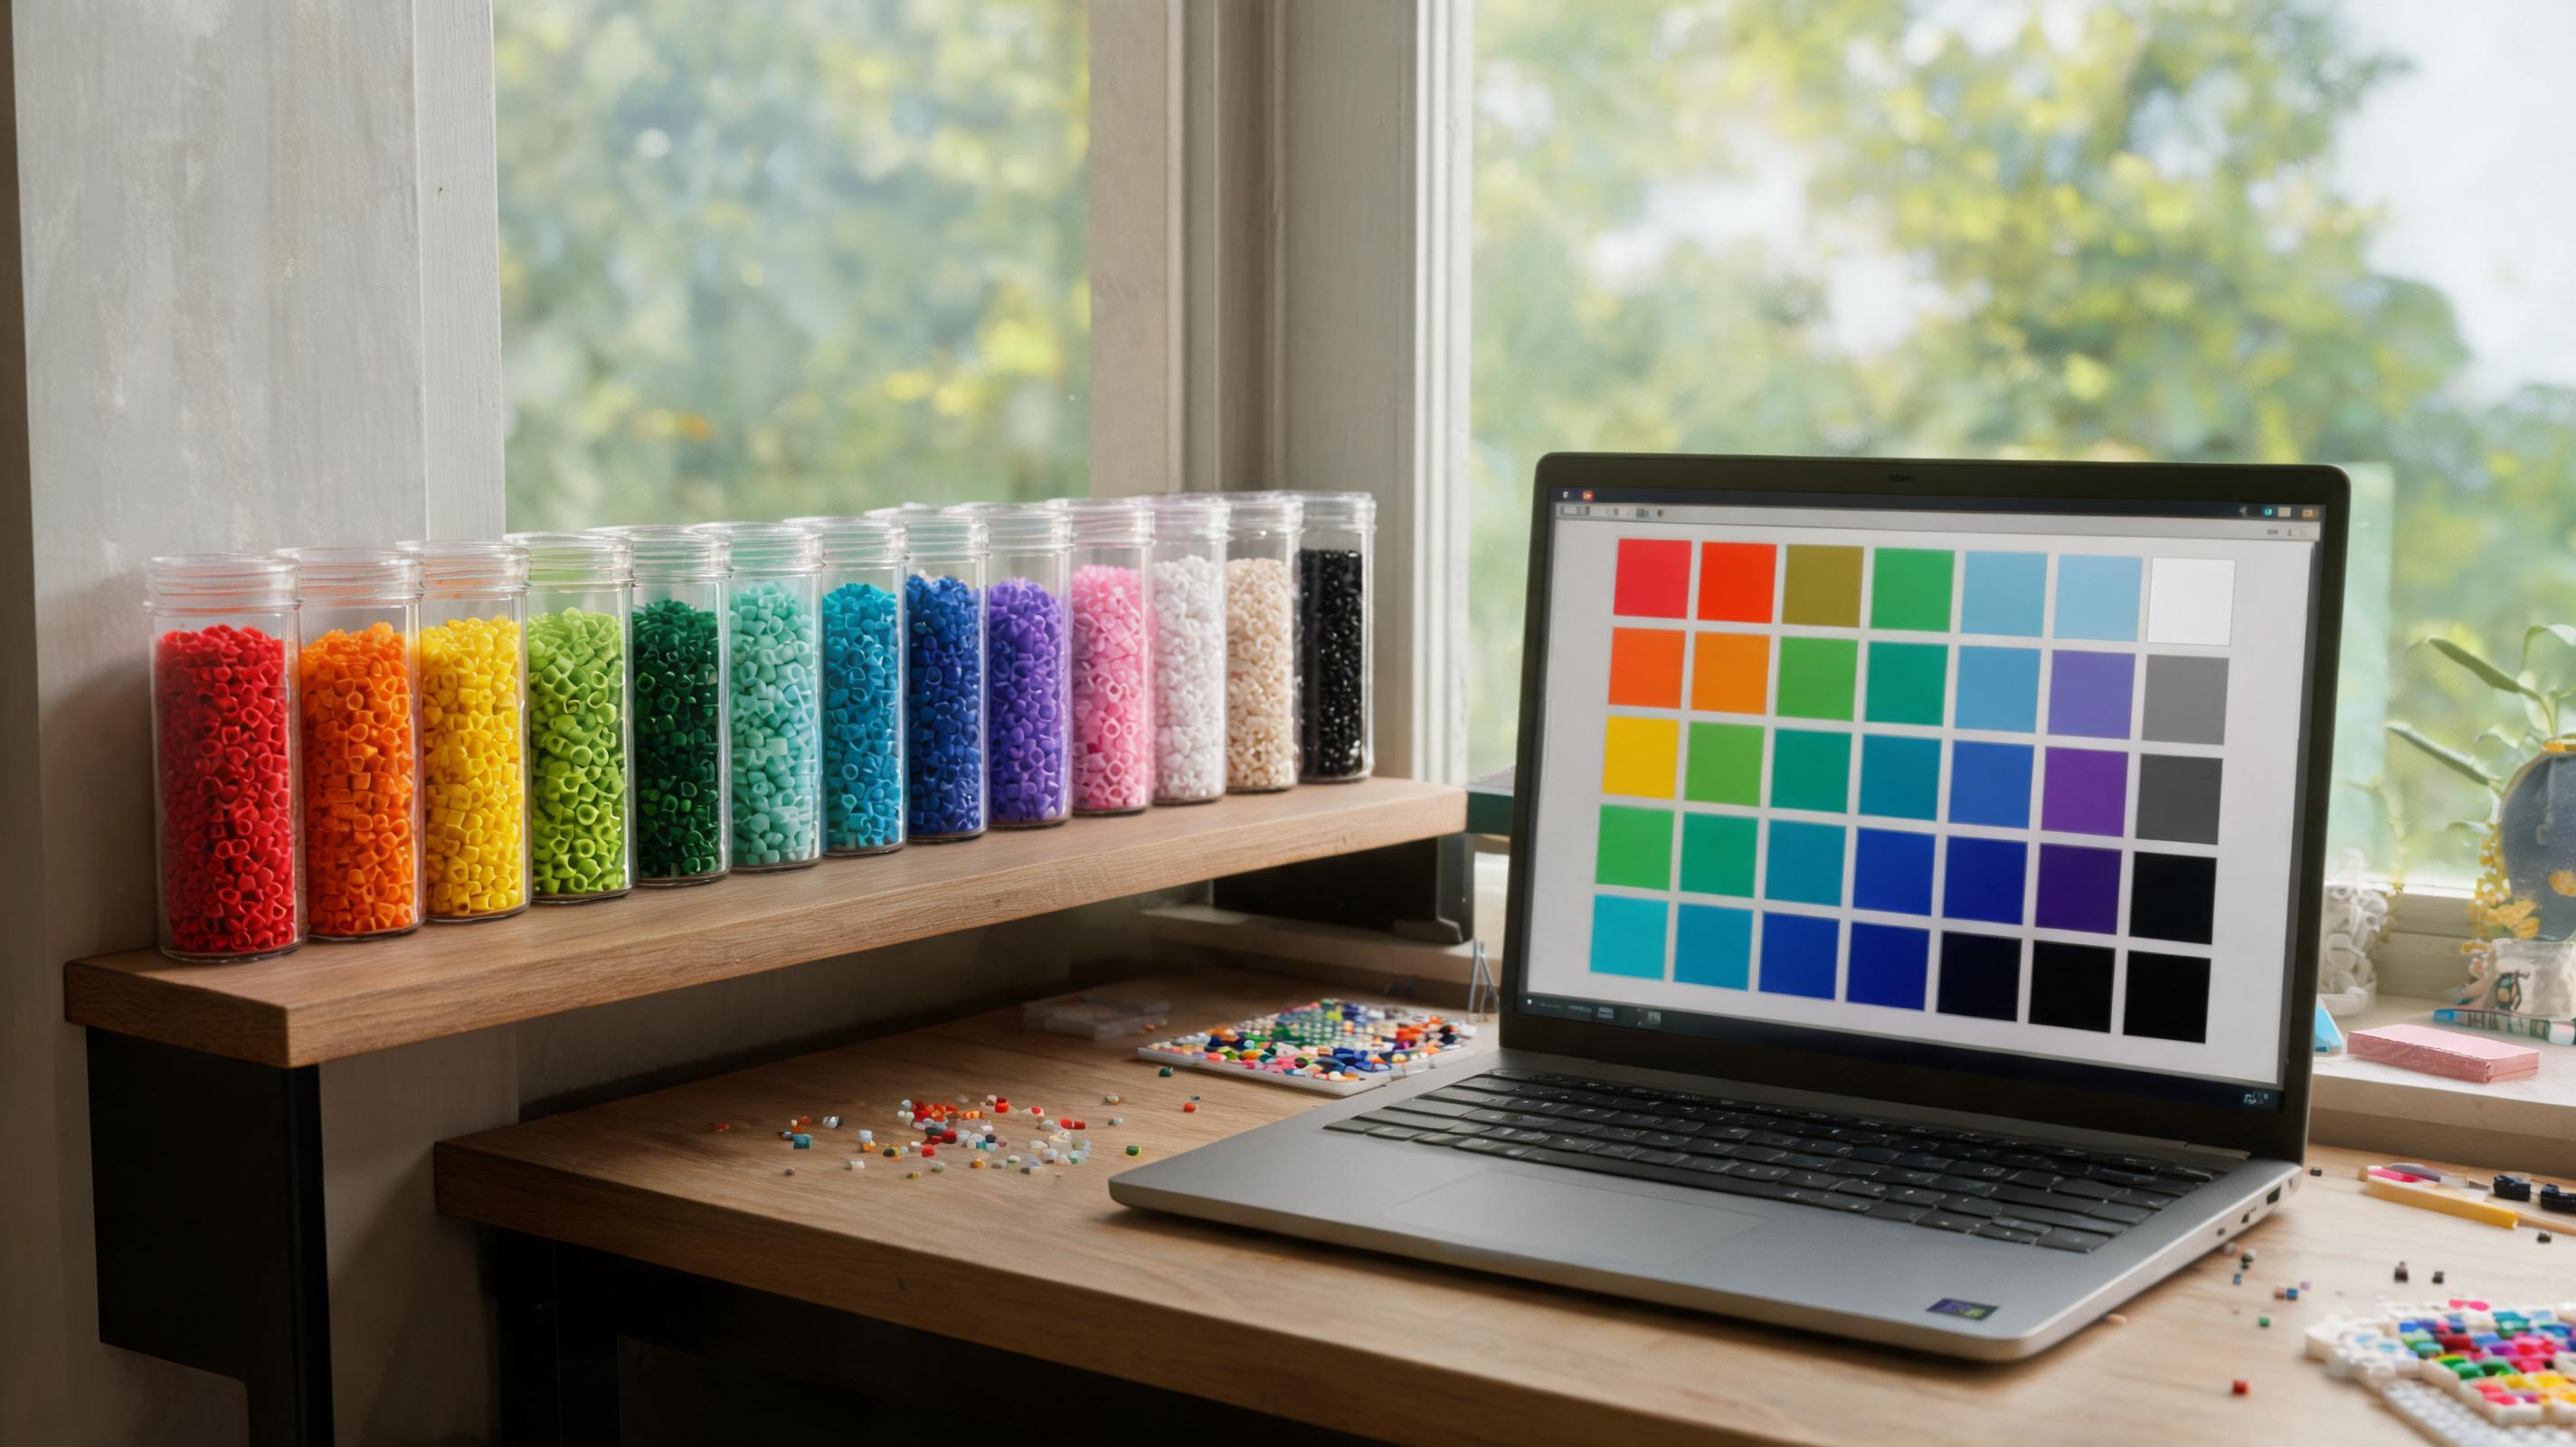
Changing the brand re-runs the conversion. The same photo may look slightly different across palettes because available hues differ. Pick the brand you actually buy before you finalize counts.
Image Framing and Adaptive Edge Detail
Width presets preserve the source proportions, so Image framing stays locked to Fit whole image. In Custom dimensions, Fit whole image letterboxes the photo so nothing is cropped, while Crop to fill zooms into the fixed grid and may trim edges.
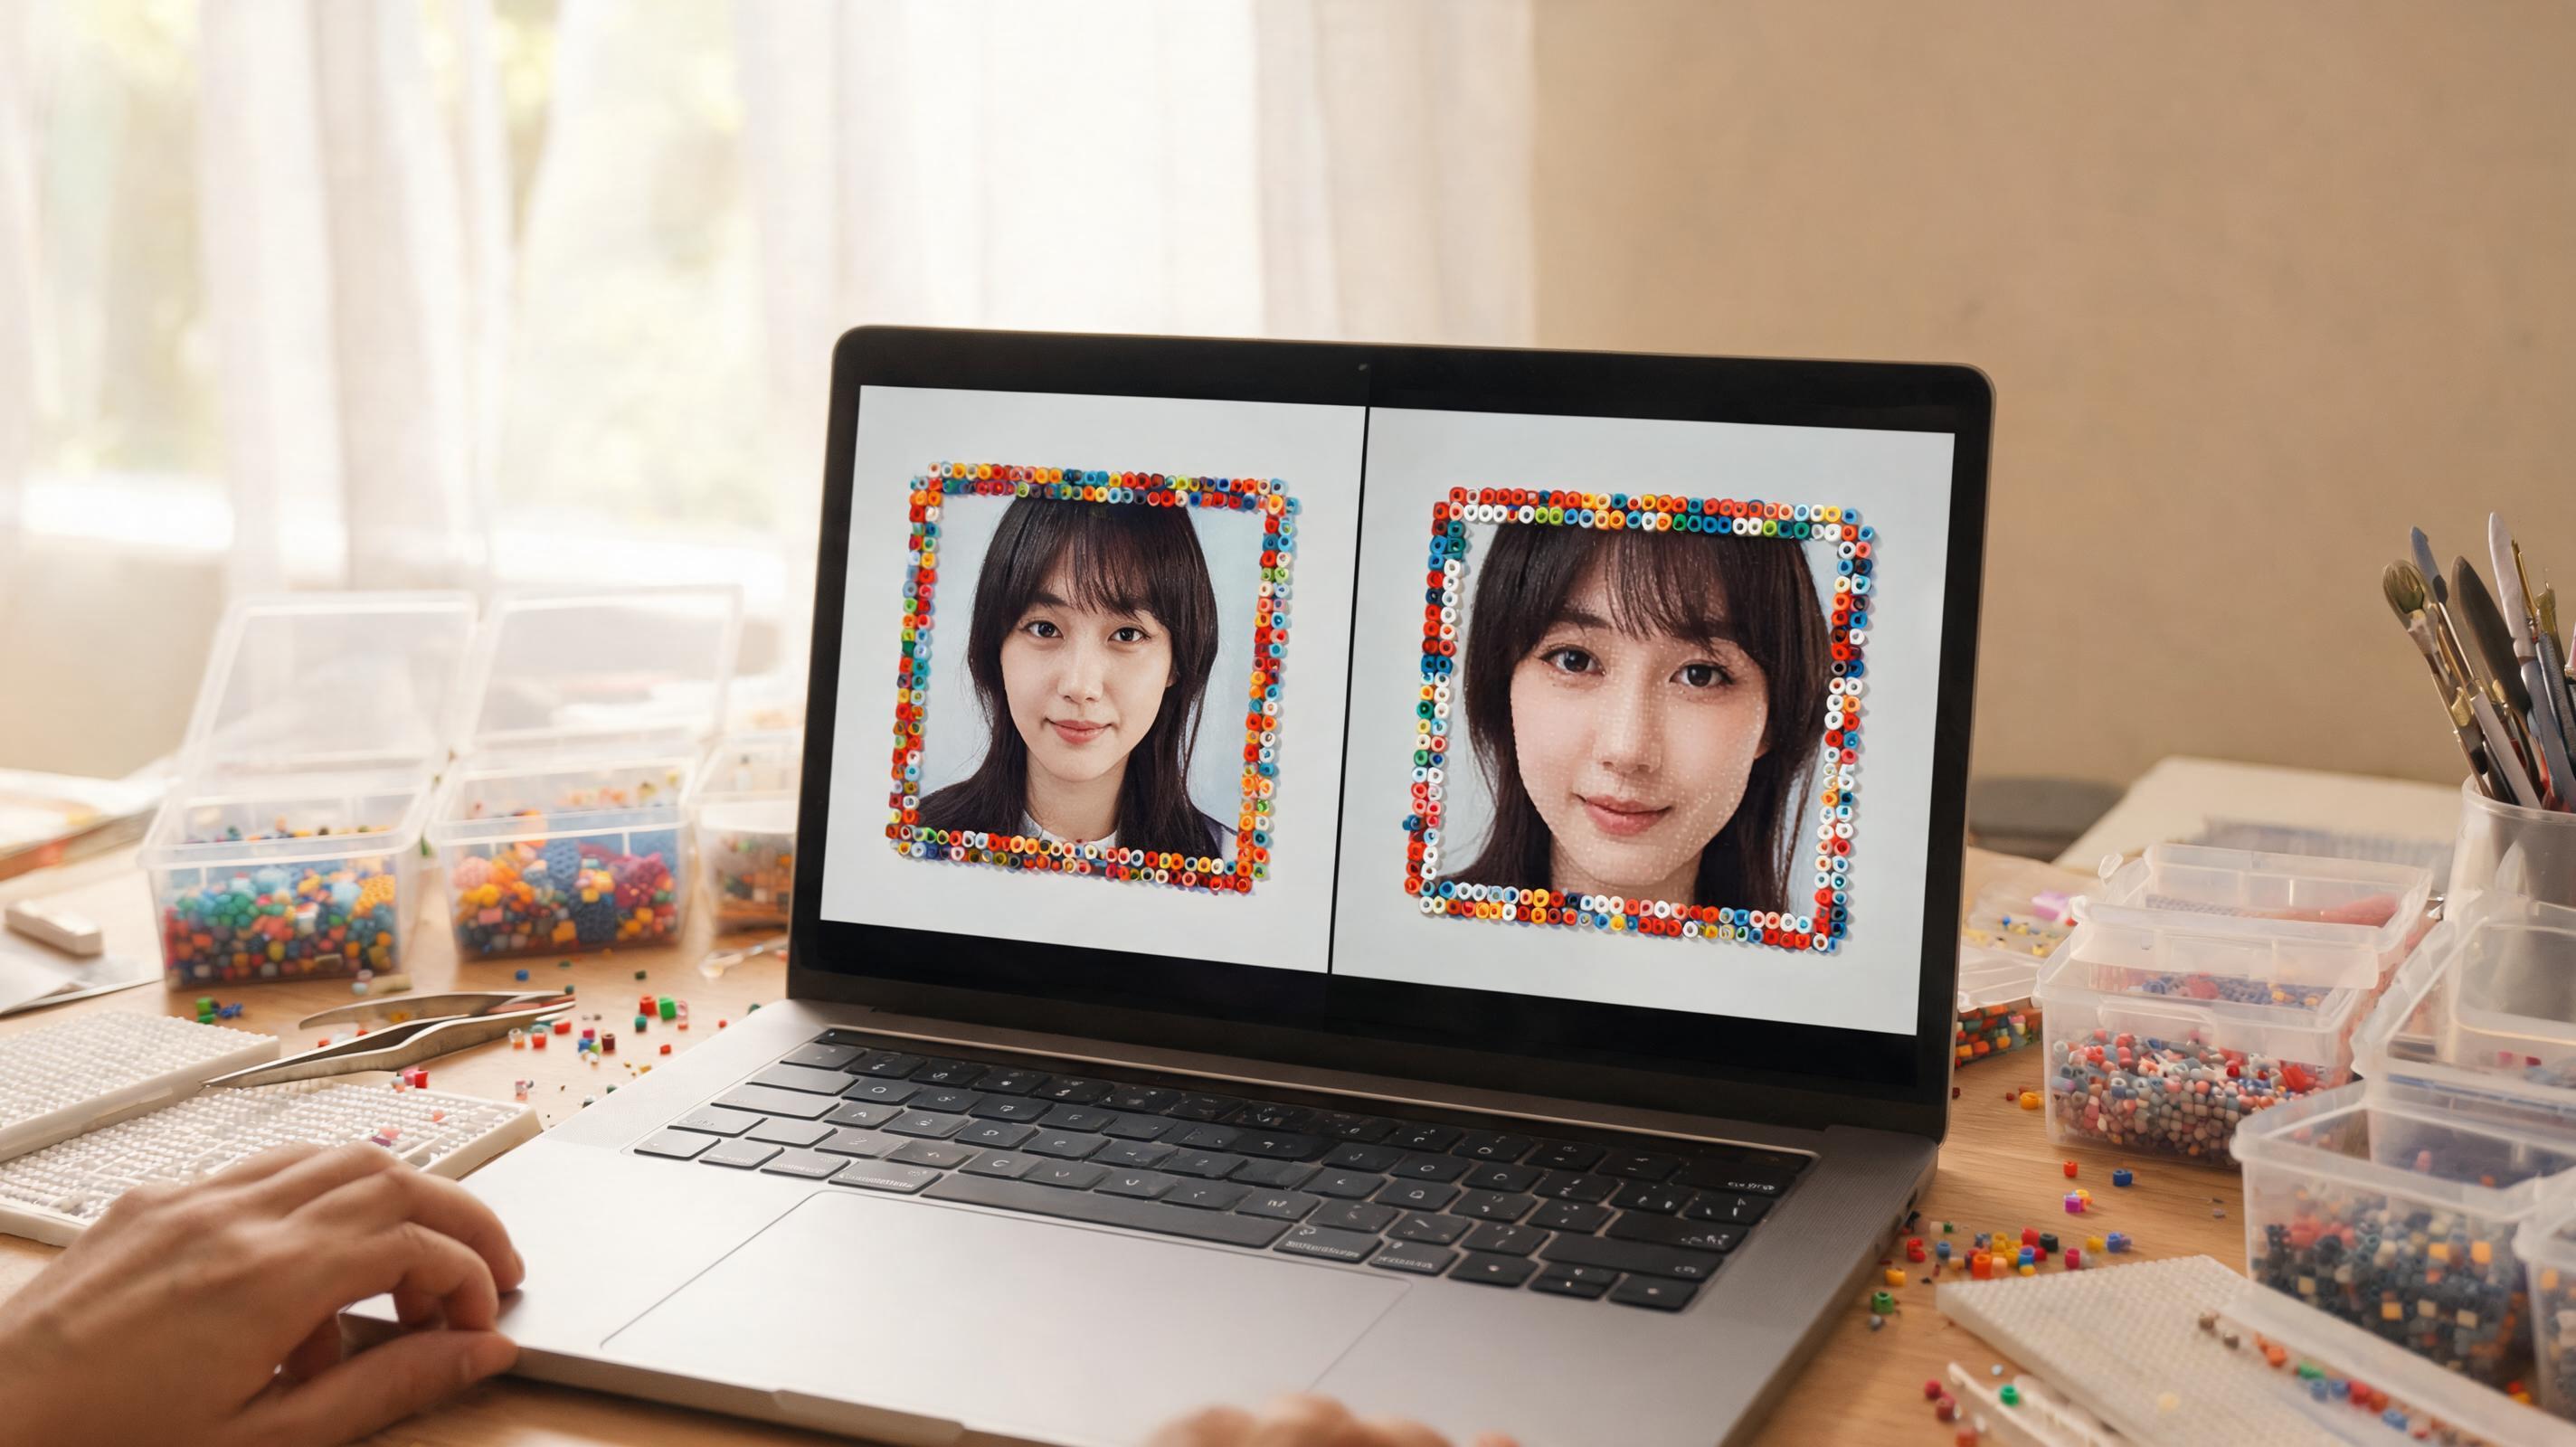
Shape-aware sampling analyzes 8×8 source subpixels for every bead. It normally uses the dominant surface color, but preserves a connected contrasting feature when it covers a meaningful part of the cell. The feature may be dark, light, or chromatic.
- Connected eyes, letters, and outlines can survive even when the surrounding surface color covers more area.
- Partially transparent boundary cells need neighboring shape support, which closes small gaps without retaining isolated wisps.
- Adjacent cells share ownership of a thin boundary so one source edge does not become two beads thick.
- Near-tie colors in soft surfaces follow strong neighboring support without flattening real gradient bands.
- The final match uses the full selected brand palette or exactly the owned IDs you selected.
Exposure, Contrast, and Saturation
Open Image adjustments to fine-tune the source photo before it is sampled into beads. Changes apply live — the preview re-renders as you drag sliders. Click Reset to return all three to default.
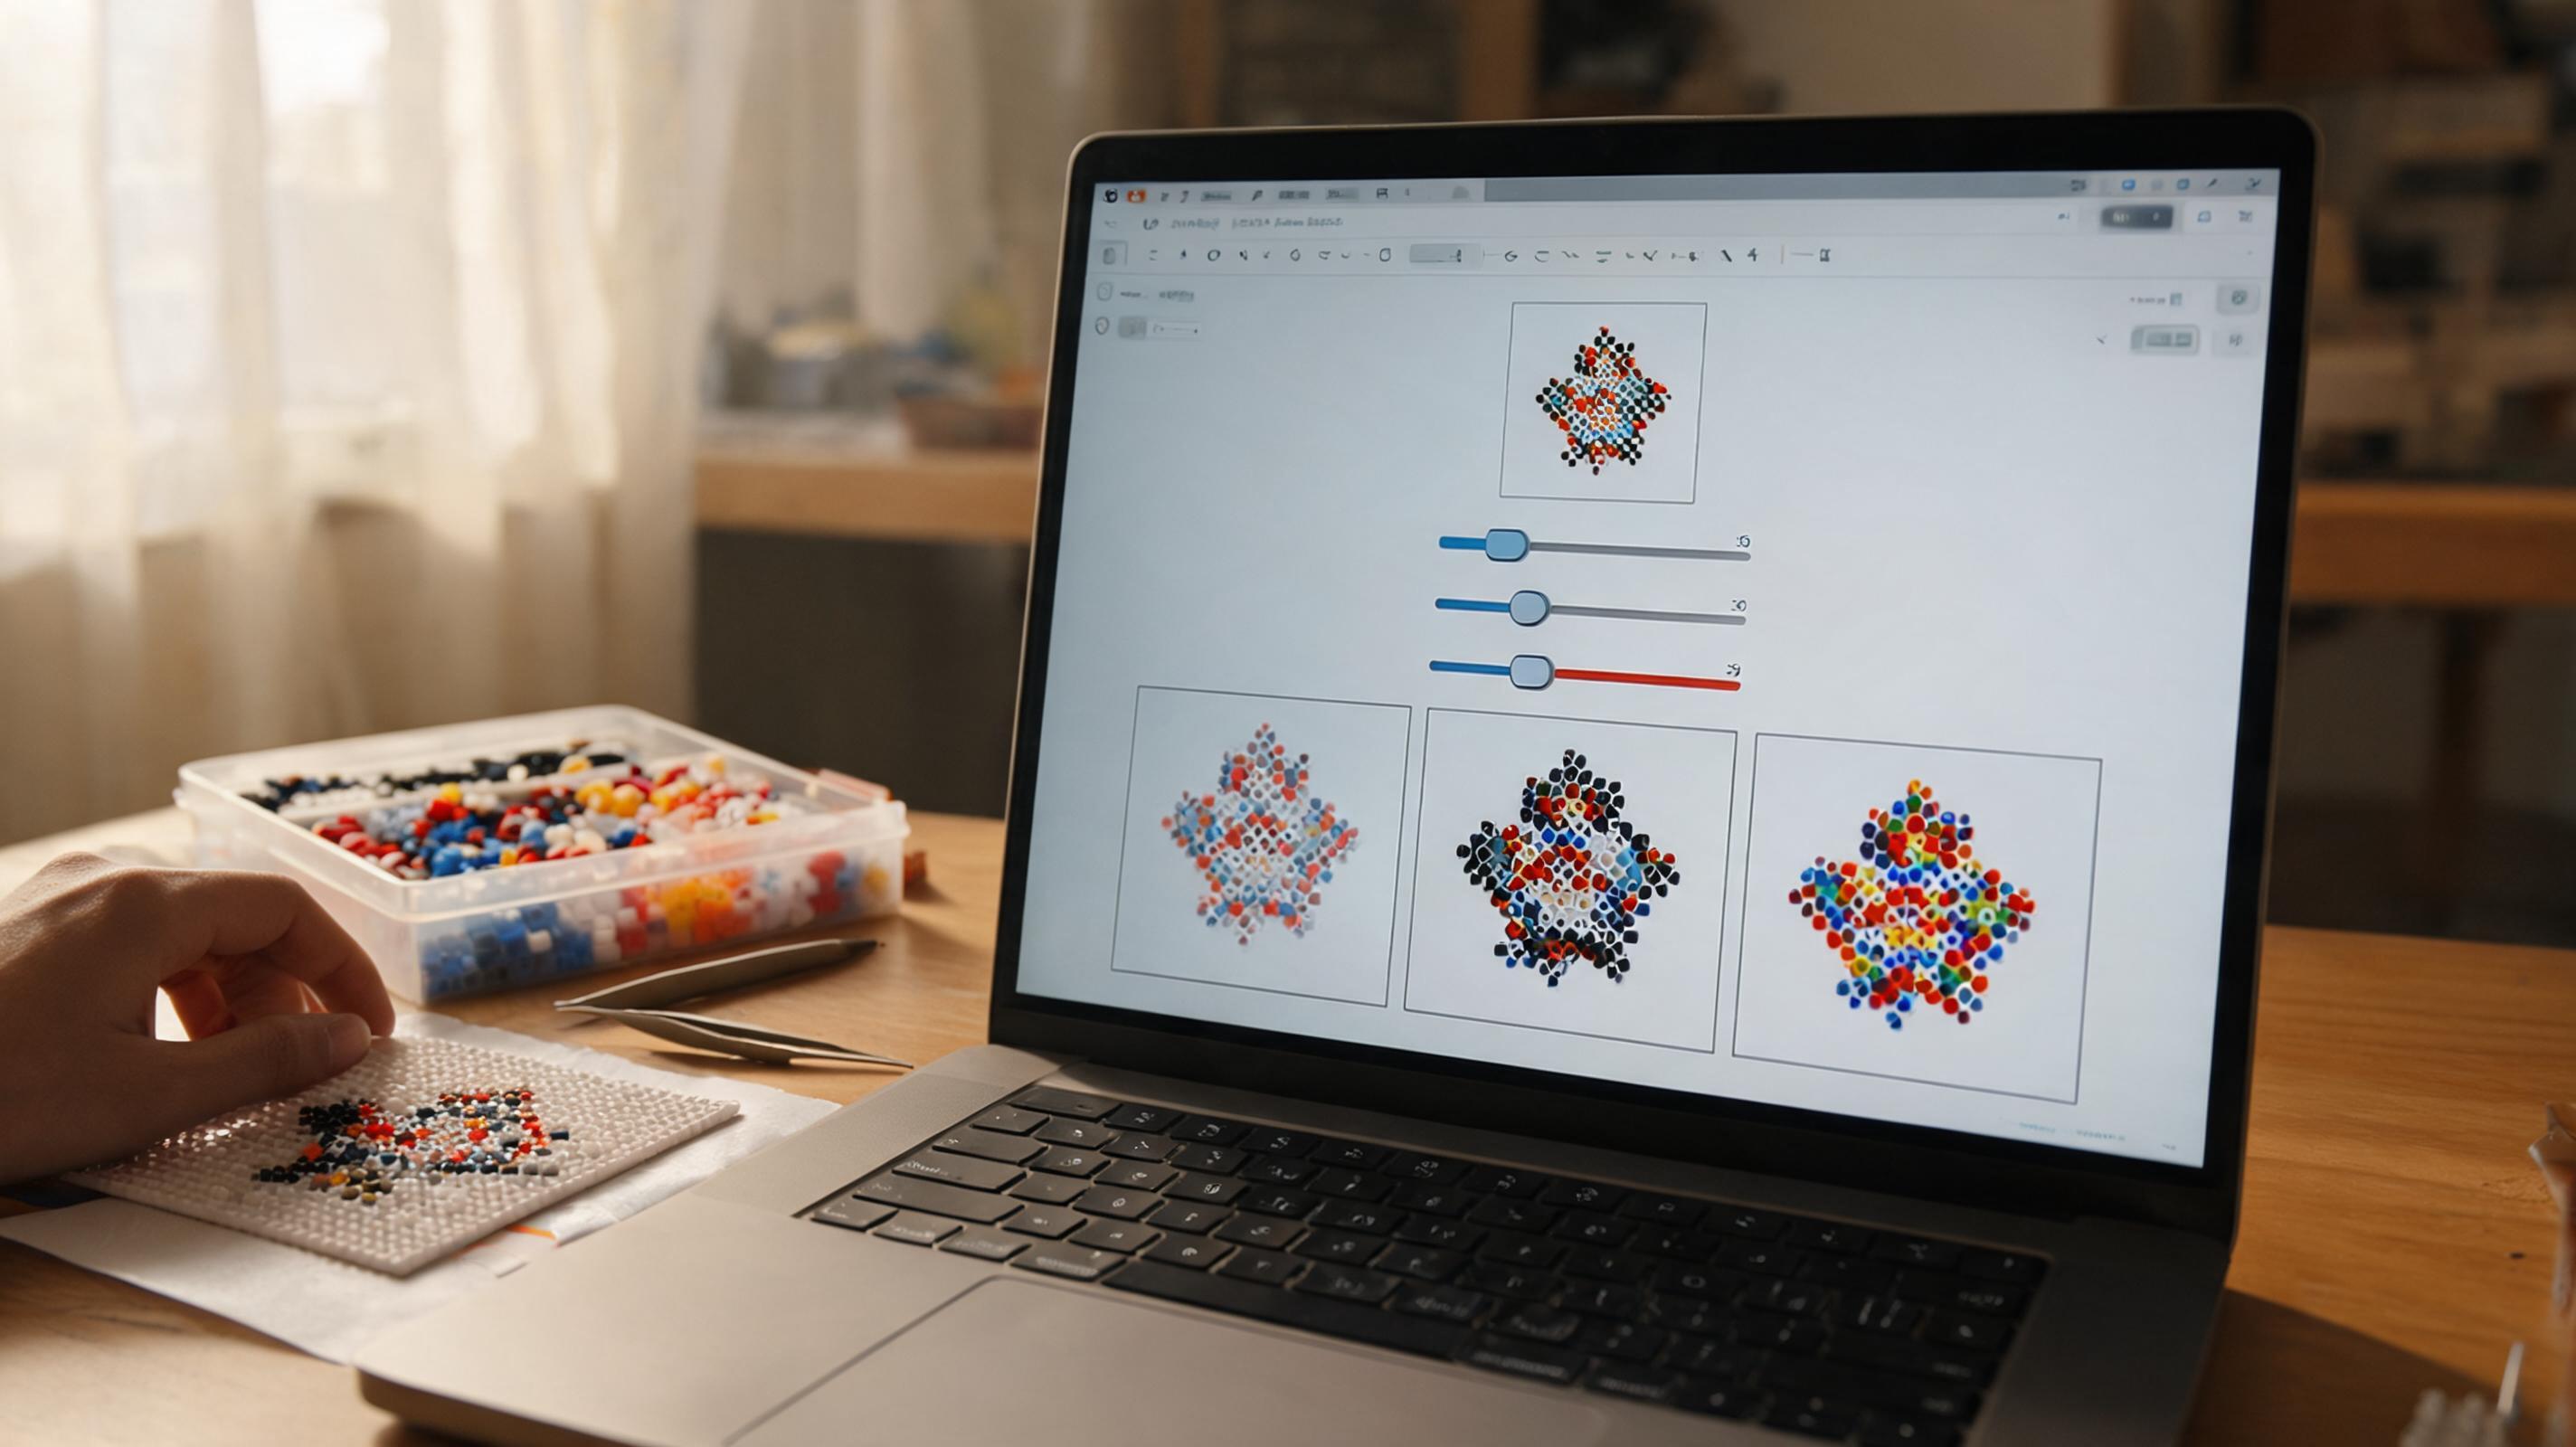
- Exposure — labeled Exposure in the UI (brightness behind the scenes). Range −100 to +100. Raise it for dark photos; lower it for washed-out shots. This is the first slider to try when the pattern looks too dim or too flat.
- Contrast — 50% to 150%, default 100%. Higher contrast separates subject from background and makes edges crisper for bead placement. Too high can blow out highlights into a single light bead color.
- Saturation — 0% to 200%, default 100%. Boosting saturation merges nearby hues into stronger bead colors; lowering it can tame neon or oversaturated phone photos.
More Image Settings
Expand More image settings for dithering and background removal.
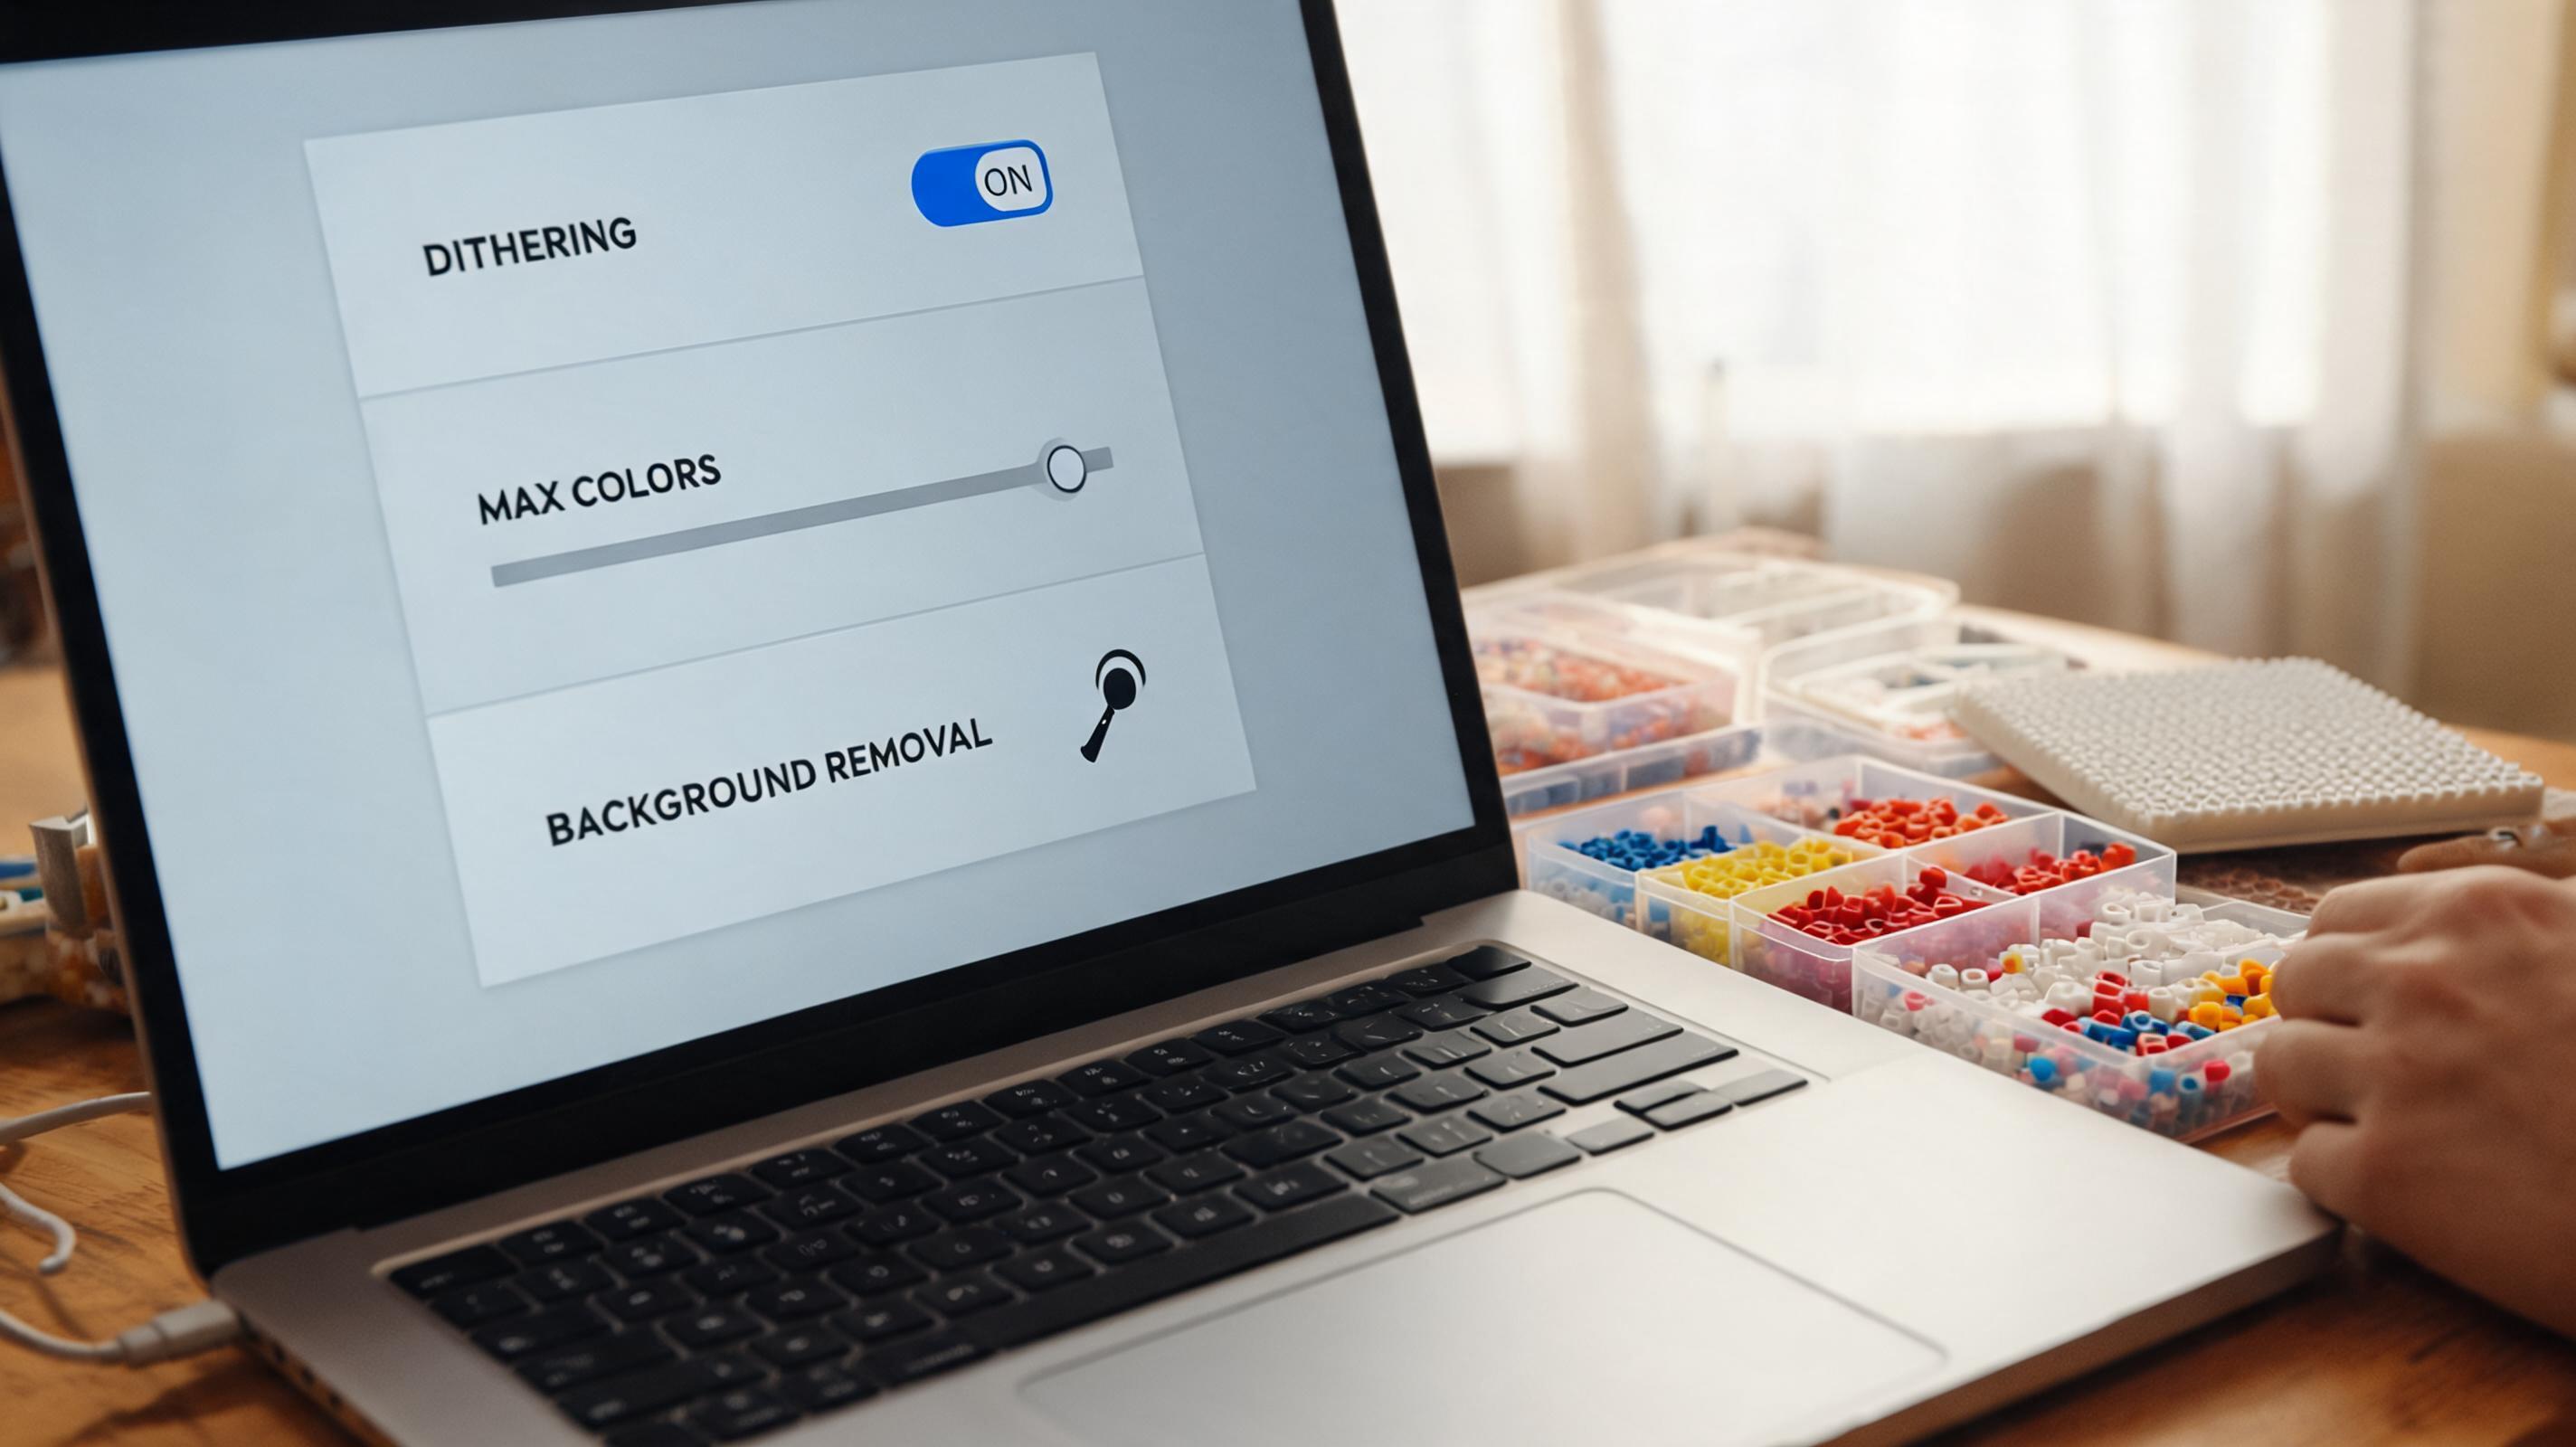
- Dithering — Off is the default and keeps flat color regions; Auto adds bead mixing for color-rich images; On maximizes dither for smooth shading at the cost of more speckled cells.
- Remove selected background — pick a backdrop color from the image, set Tolerance, then enable removal. Similar pixels become empty pegs.
- Pick background — click the button, then click the photo in the preview. The swatch shows your chosen color. Reset background clears the pick.
Preview Mode and Display Options
The center preview is interactive. Use the header controls to compare the bead result against your source.
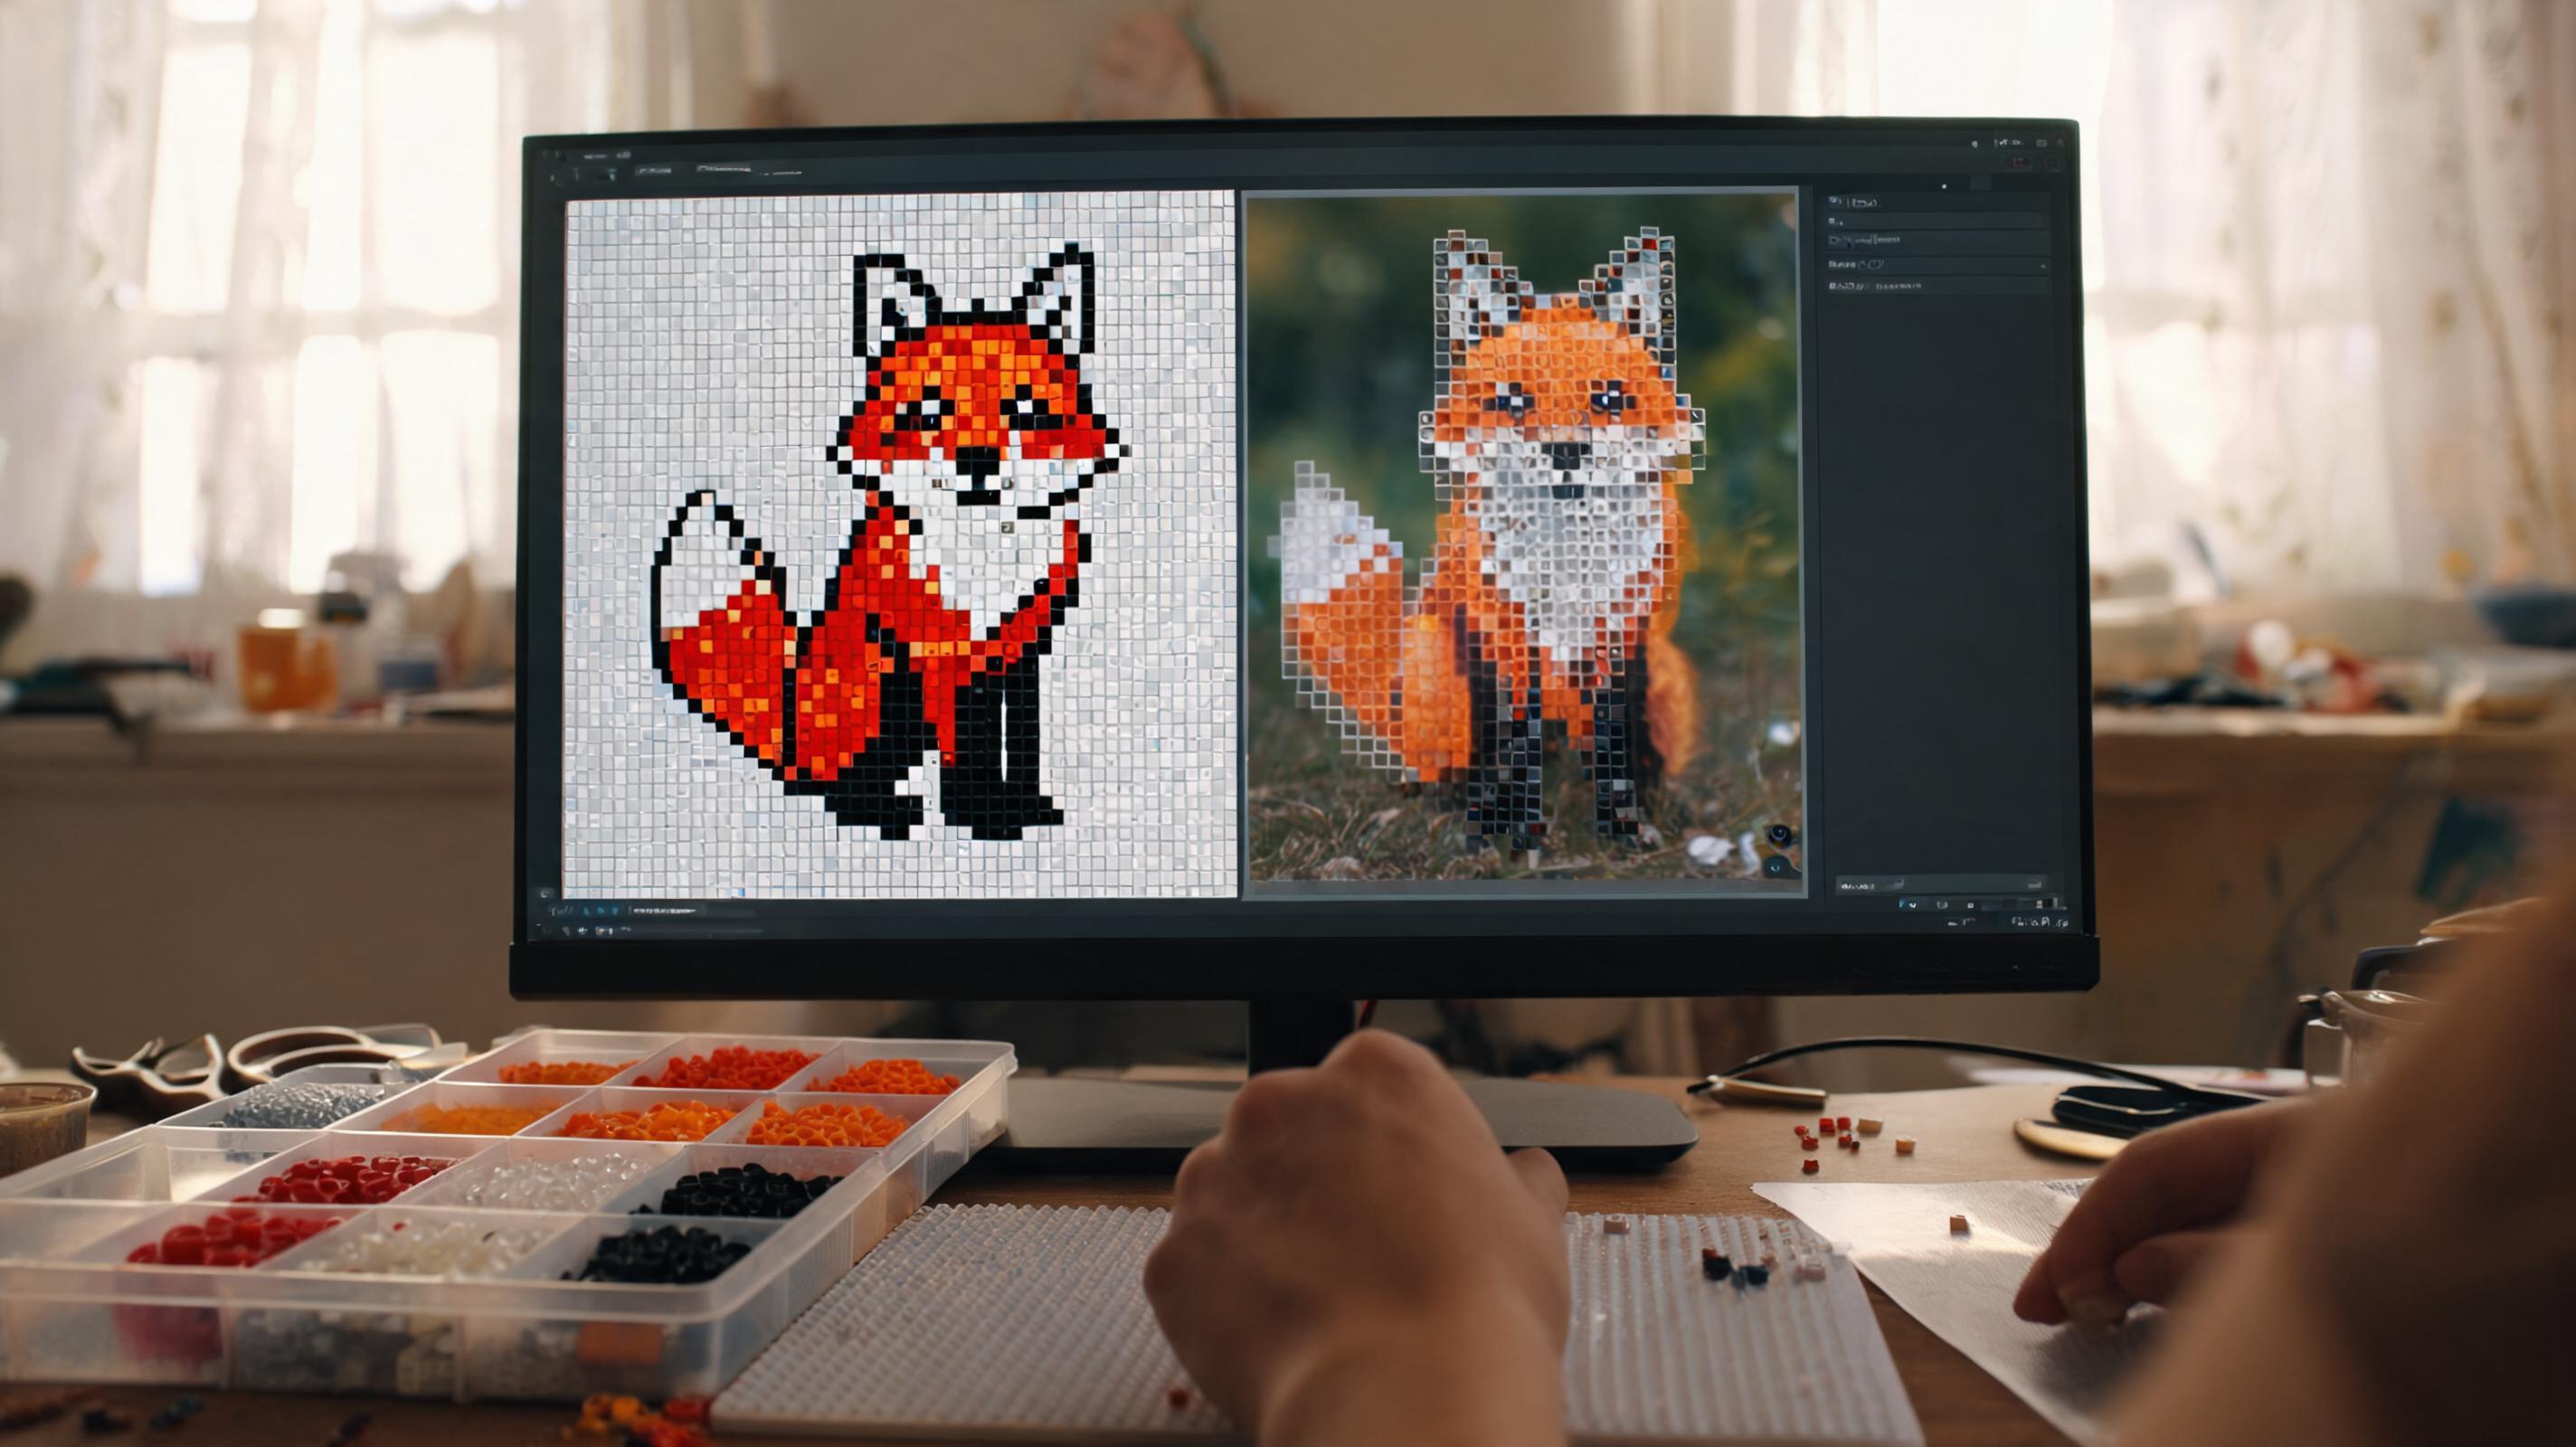
- Pattern — shows only the bead grid.
- Overlay — semi-transparent source photo under the beads; adjust Source opacity and Pattern opacity sliders in focus view.
- Pixels / Beads — switches between a continuous pixel preview and the physical bead rendering without changing any pattern cells.
- View full image — opens a zoomable focus dialog. Pan with drag, pinch or scroll to zoom, press +/−/0 on keyboard.
- Grid — toggle peg lines. Coordinates — row/column numbers. Bead codes — show ID on each filled cell.
While Pick background is active, click a cell in the preview to sample that pixel color for removal.
Download, Save, and Continue Editing
The Pattern output column on the right summarizes beads, colors, and boards. When you are happy with the preview:
- Download guide — opens export options for PNG and PDF with legend and counts.
- Project name — appears on exports and in your workspace.
- Save project — stores the pattern locally and syncs when signed in.
- Edit in Create from Scratch — sends the grid, palette, and reference image to the manual editor for touch-ups.
- Apply cleanup — merges isolated single-bead specks flagged by the app.